

1 · If you can, send a spare unit
This saves the most time when the product is delicate.
A single unit picks up marks on the way: a rub from the packaging, a fingerprint that won’t come off, a corner knocked in transit. With a spare, the flawless one gets shot and the series moves on; without one, that mark gets cleaned in retouching.
This is a recommendation, not a condition. There are one-off pieces, pre-production samples and high-value items that simply don’t come in duplicate. If the piece is unique, tell us: we agree in advance how it’s handled — gloves, a protected surface, fewer position changes, cleaning between frames.
2 · Packaging travels separately, and unopened
If the box, the bag or the label appear in the photos, they need their own unit.
Opened packaging never closes the same way again: the flap stays creased, the seal wrinkled, the adhesive lifted. On a listing that shows. One sealed unit and one opened one cover both situations without inventing anything in retouching.
And a warning that rarely gets expected: freshly printed ink can transfer from the touch of a finger alone. If the packaging is recent, it’s worth saying so, because it changes how it’s handled during the session.
3 · Clean before it ships, not on arrival
Metal, glass and glossy plastics hold the fingerprints of everyone who has touched them. Leather and fabric hold lint.
Cleaning happens at the studio anyway, but that’s session time. Cleaning before shipping costs nothing: a dry cloth for jewellery, a brush for textiles, that’s it.
Clothing travels better folded with paper between the layers than packed tight in a bag. Deep fold marks take time to drop out, and sometimes they don’t.
4 · Sizes and variants: let’s agree them first
With clothing and footwear, which unit arrives changes the result, and the right size depends on the format.
A mannequin needs the size that fits that mannequin. A flat lay needs the size we agree with you, depending on how you want the garment to fall. For a shoot with a model, size and fit are checked before booking them, not once everything is at the studio. Tell us the format and we’ll confirm what to send.
With colours the rule is simple: send every variant that has to appear in the photos and include a list with the box — commercial colour name and article code. We don’t choose which variant gets photographed: we shoot the ones your listing needs, and the list keeps two close shades from being swapped.
5 · Perishables get flagged in advance
Food, flowers, opened cosmetics, anything that changes with time or with the heat of the light.
This isn’t a problem, it’s a shooting condition: it changes the order of the day. A product that arrives frozen, for instance, gets photographed frozen first and defrosted after, and there’s no going back: everything that has to be shot in the first state must be settled before anything starts.
The same goes for flowers, which open with the heat, or a cosmetic texture, which spreads on its own. If we know at booking, the day is ordered so the product reaches the camera at its best moment. If we find out when the box is opened, the order is already set.
6 · Show us how it works
If the product opens, folds, clicks together, assembles or is used in a way that isn’t obvious, send a short phone video. It doesn’t need to look good.
This avoids two things: shooting it wrongly assembled, and losing time working out the mechanism. On products with instructions, the image that sells best is usually the gesture itself, and to make it you have to understand it first.


7 · Dimensions and weight, before the date is fixed
A large object isn’t a problem; a large object that turns up unannounced is.
Dimensions decide practical things: whether it fits through the door and into the lift, whether it takes two people to move, what surface and background are needed, how much distance the lens asks for. All of that plans well from a measurement sent by message and badly from a surprise at the entrance.
If the product is fragile or heavy, say that too: it changes who handles it and how.
8 · Decide what happens to the goods afterwards
Return, collection, disposal or storage: all four exist, and it’s better to pick one beforehand.
If the product goes back, we need to know where and with which carrier, and whether the original packaging has to be kept for the return trip. If it stays, that’s agreed at booking.
With bulky pieces the window is shorter than for everything else: the studio isn’t a warehouse, and a large piece takes up the space of the next session.
9 · How to pack and send it
The box matters as much as what’s inside it.
- Agree the delivery day with us. That way someone receives it and checks it the same day, rather than leaving it waiting in an entrance.
- Include a list of what you’re sending: references, variants and how many units of each. It confirms everything arrived and it shapes the running order.
- Protect surfaces from rubbing and pieces from moving. Paper or cloth between layers, and enough padding that nothing travels loose.
- Pack the accessories and the instructions: caps, straps, laces, stands, the manual if there is one. If it isn’t in the box, it isn’t in the photo.
- Send us the tracking number once the parcel is on its way.
- Perishables are arranged separately, with a date and a delivery window: they don’t travel unannounced.
Before you seal the box
- Enough units, or a heads-up that the piece is unique.
- Its own sealed packaging, if packaging appears in the photos.
- Product clean and, for textiles, folded with paper between layers.
- A list of references, variants and colour codes.
- Accessories, instructions and a video of the mechanism, if it has one.
- Dimensions, weight and any special notes sent by message.
- Delivery day agreed and tracking number sent.
Unsure about any of it? Write before packing the box and we’ll go through it together: most of it takes two messages.

Shooting a product that hasn’t launched yet
Seven things to agree about retouching before the shoot
Ten questions before hiring a product photography studio

Where AI works in product photography and where it doesn’t
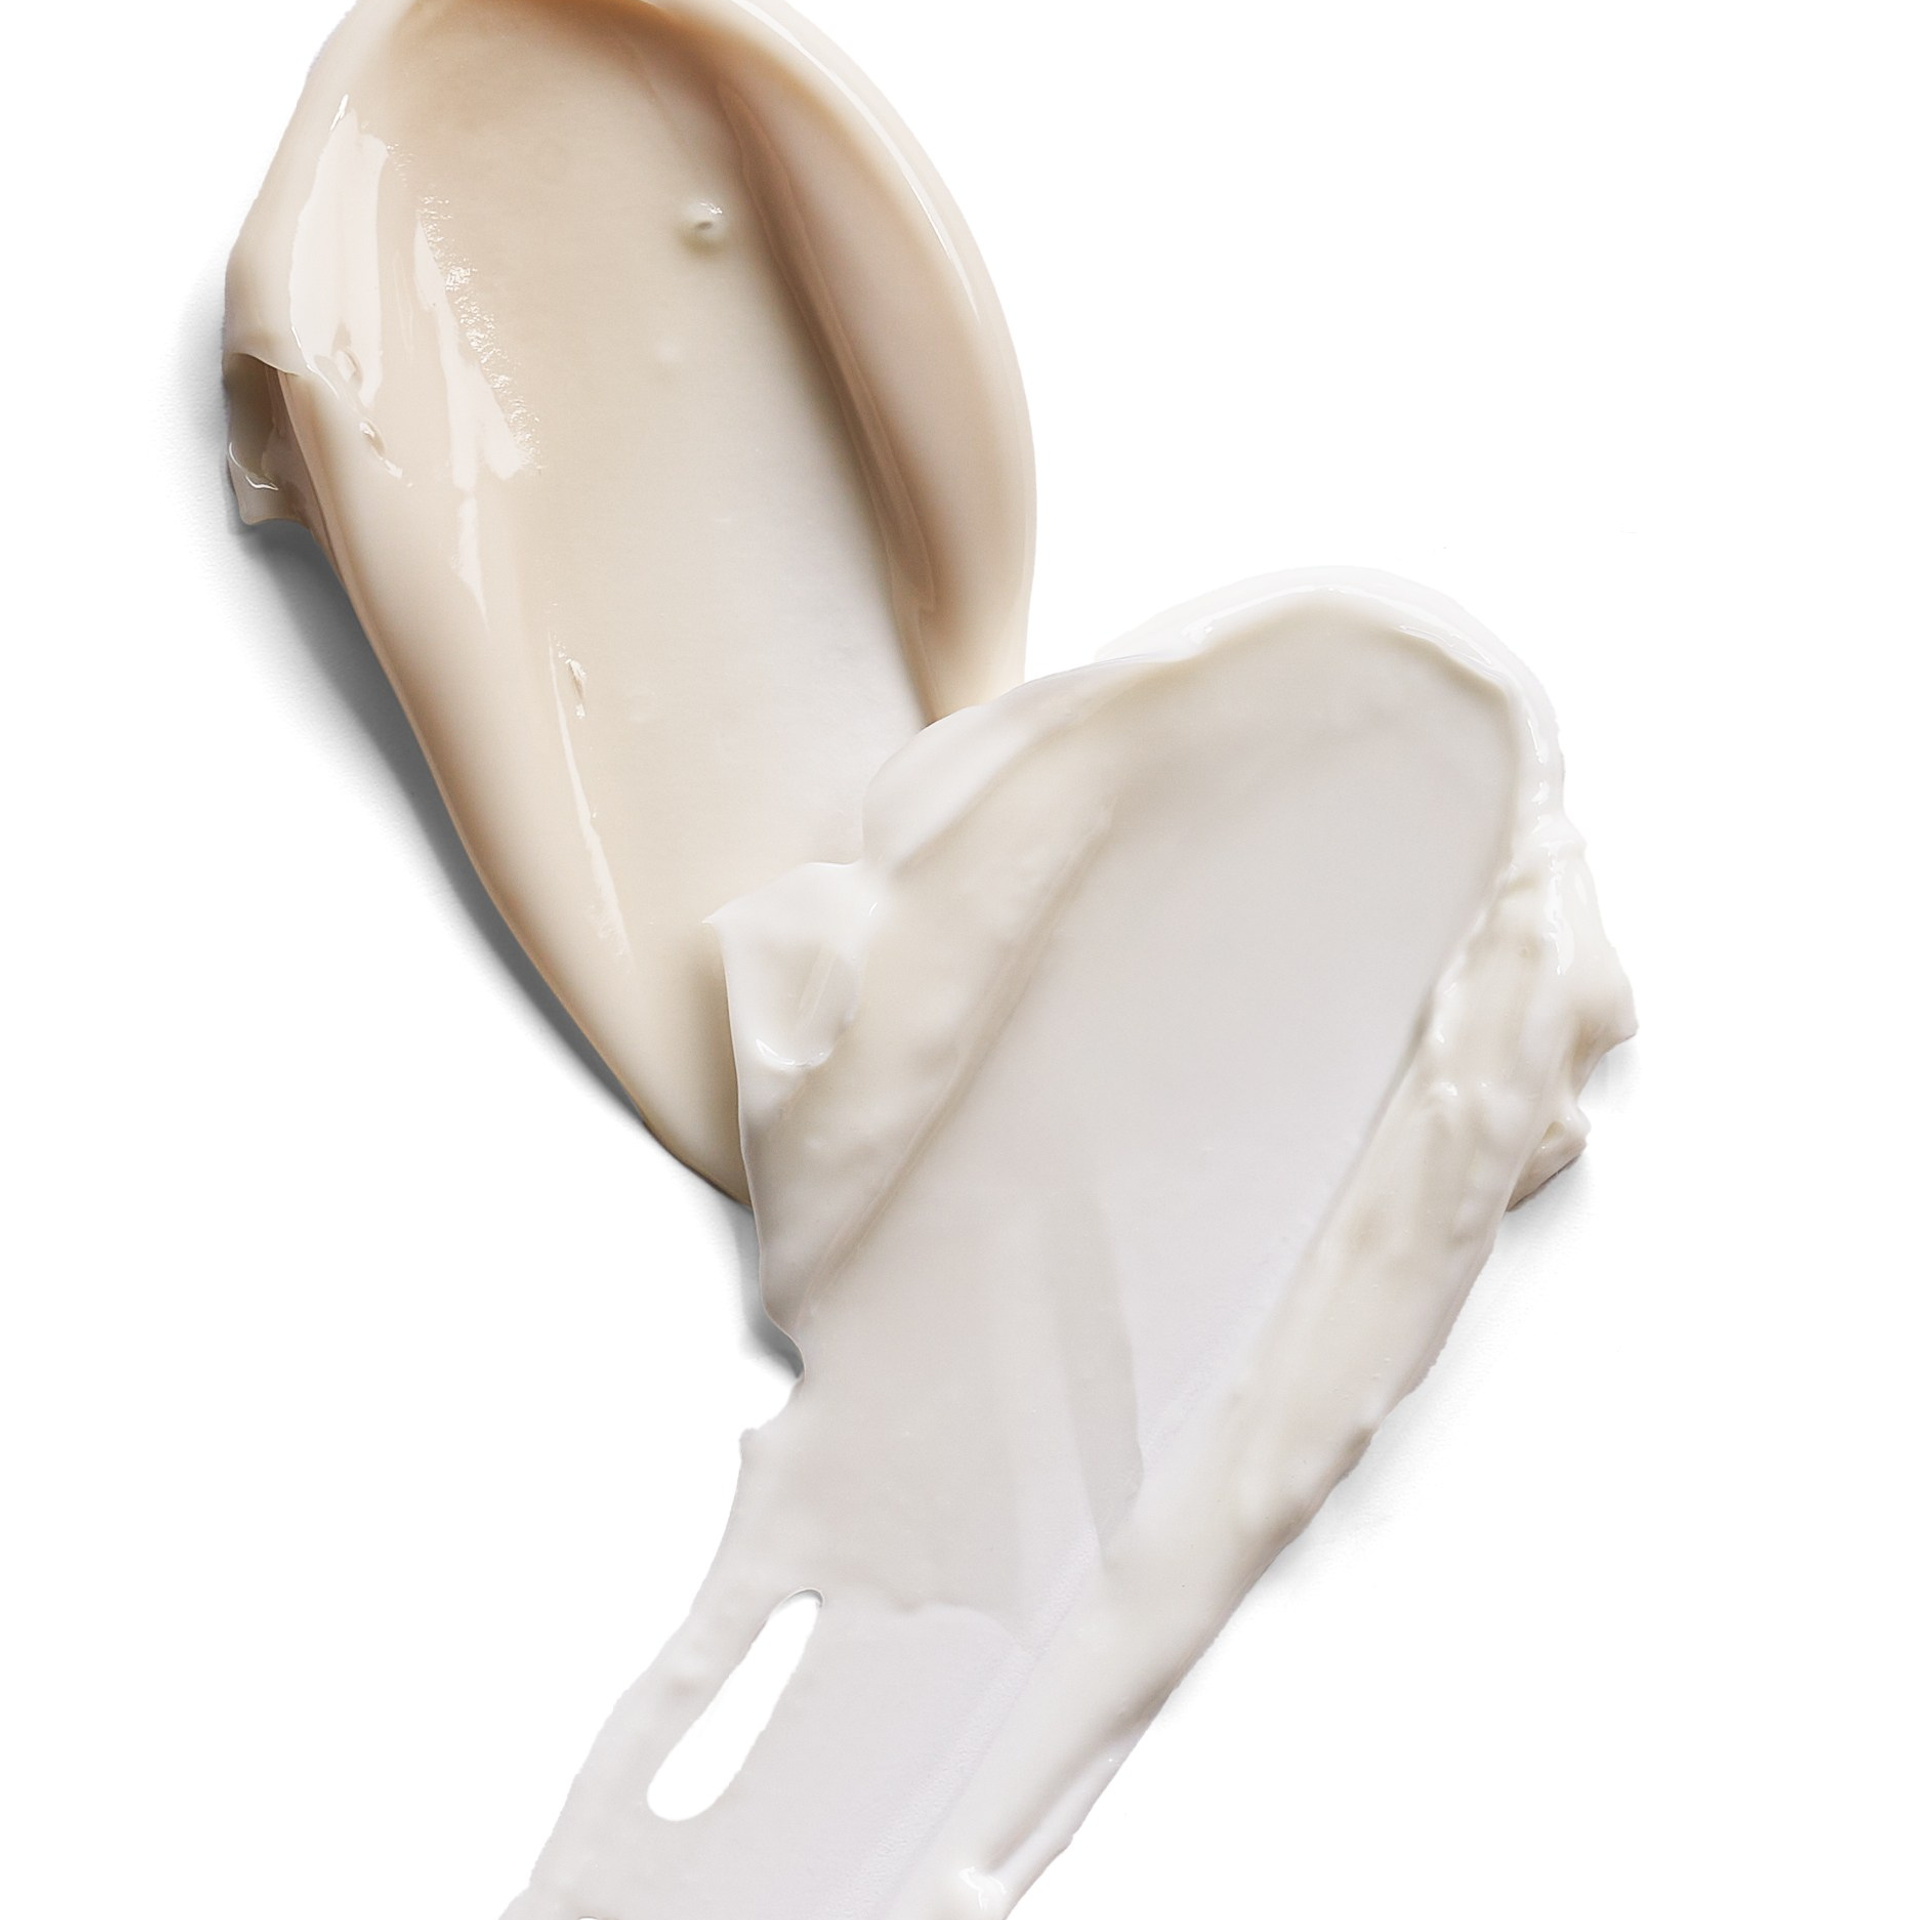
The shot almost nobody gets right: textures and swatches
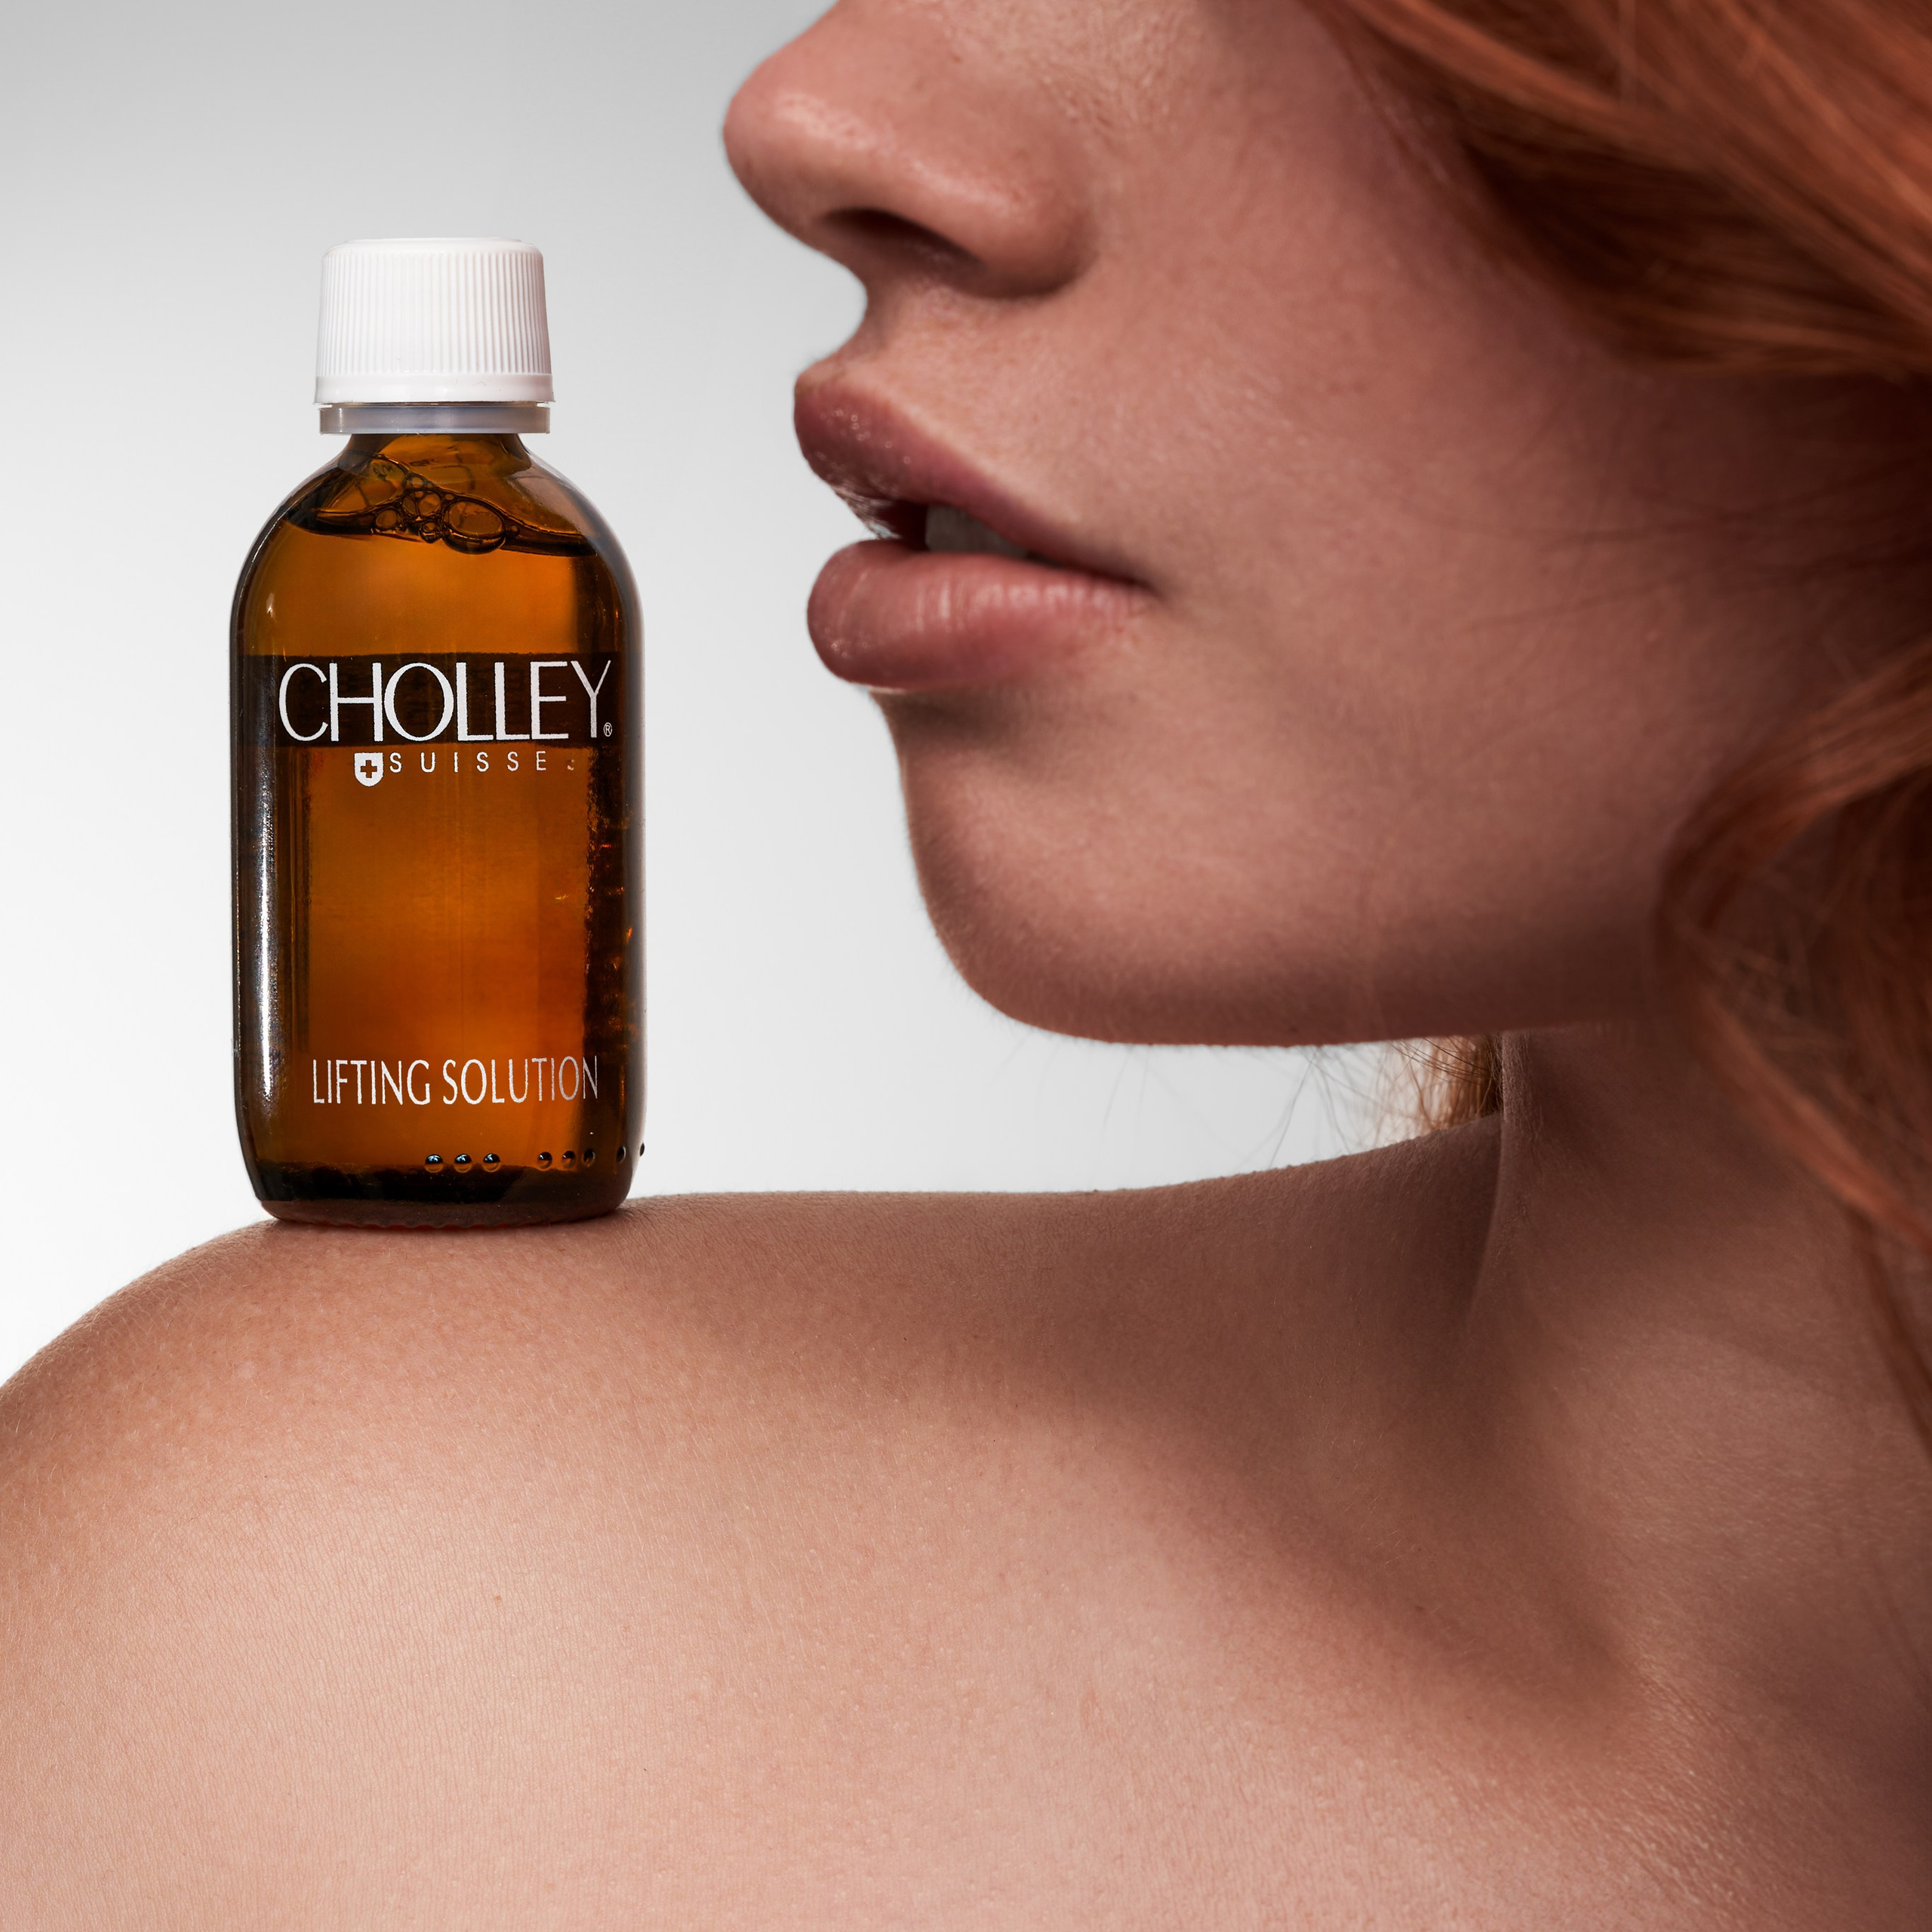
Catalog and Campaign
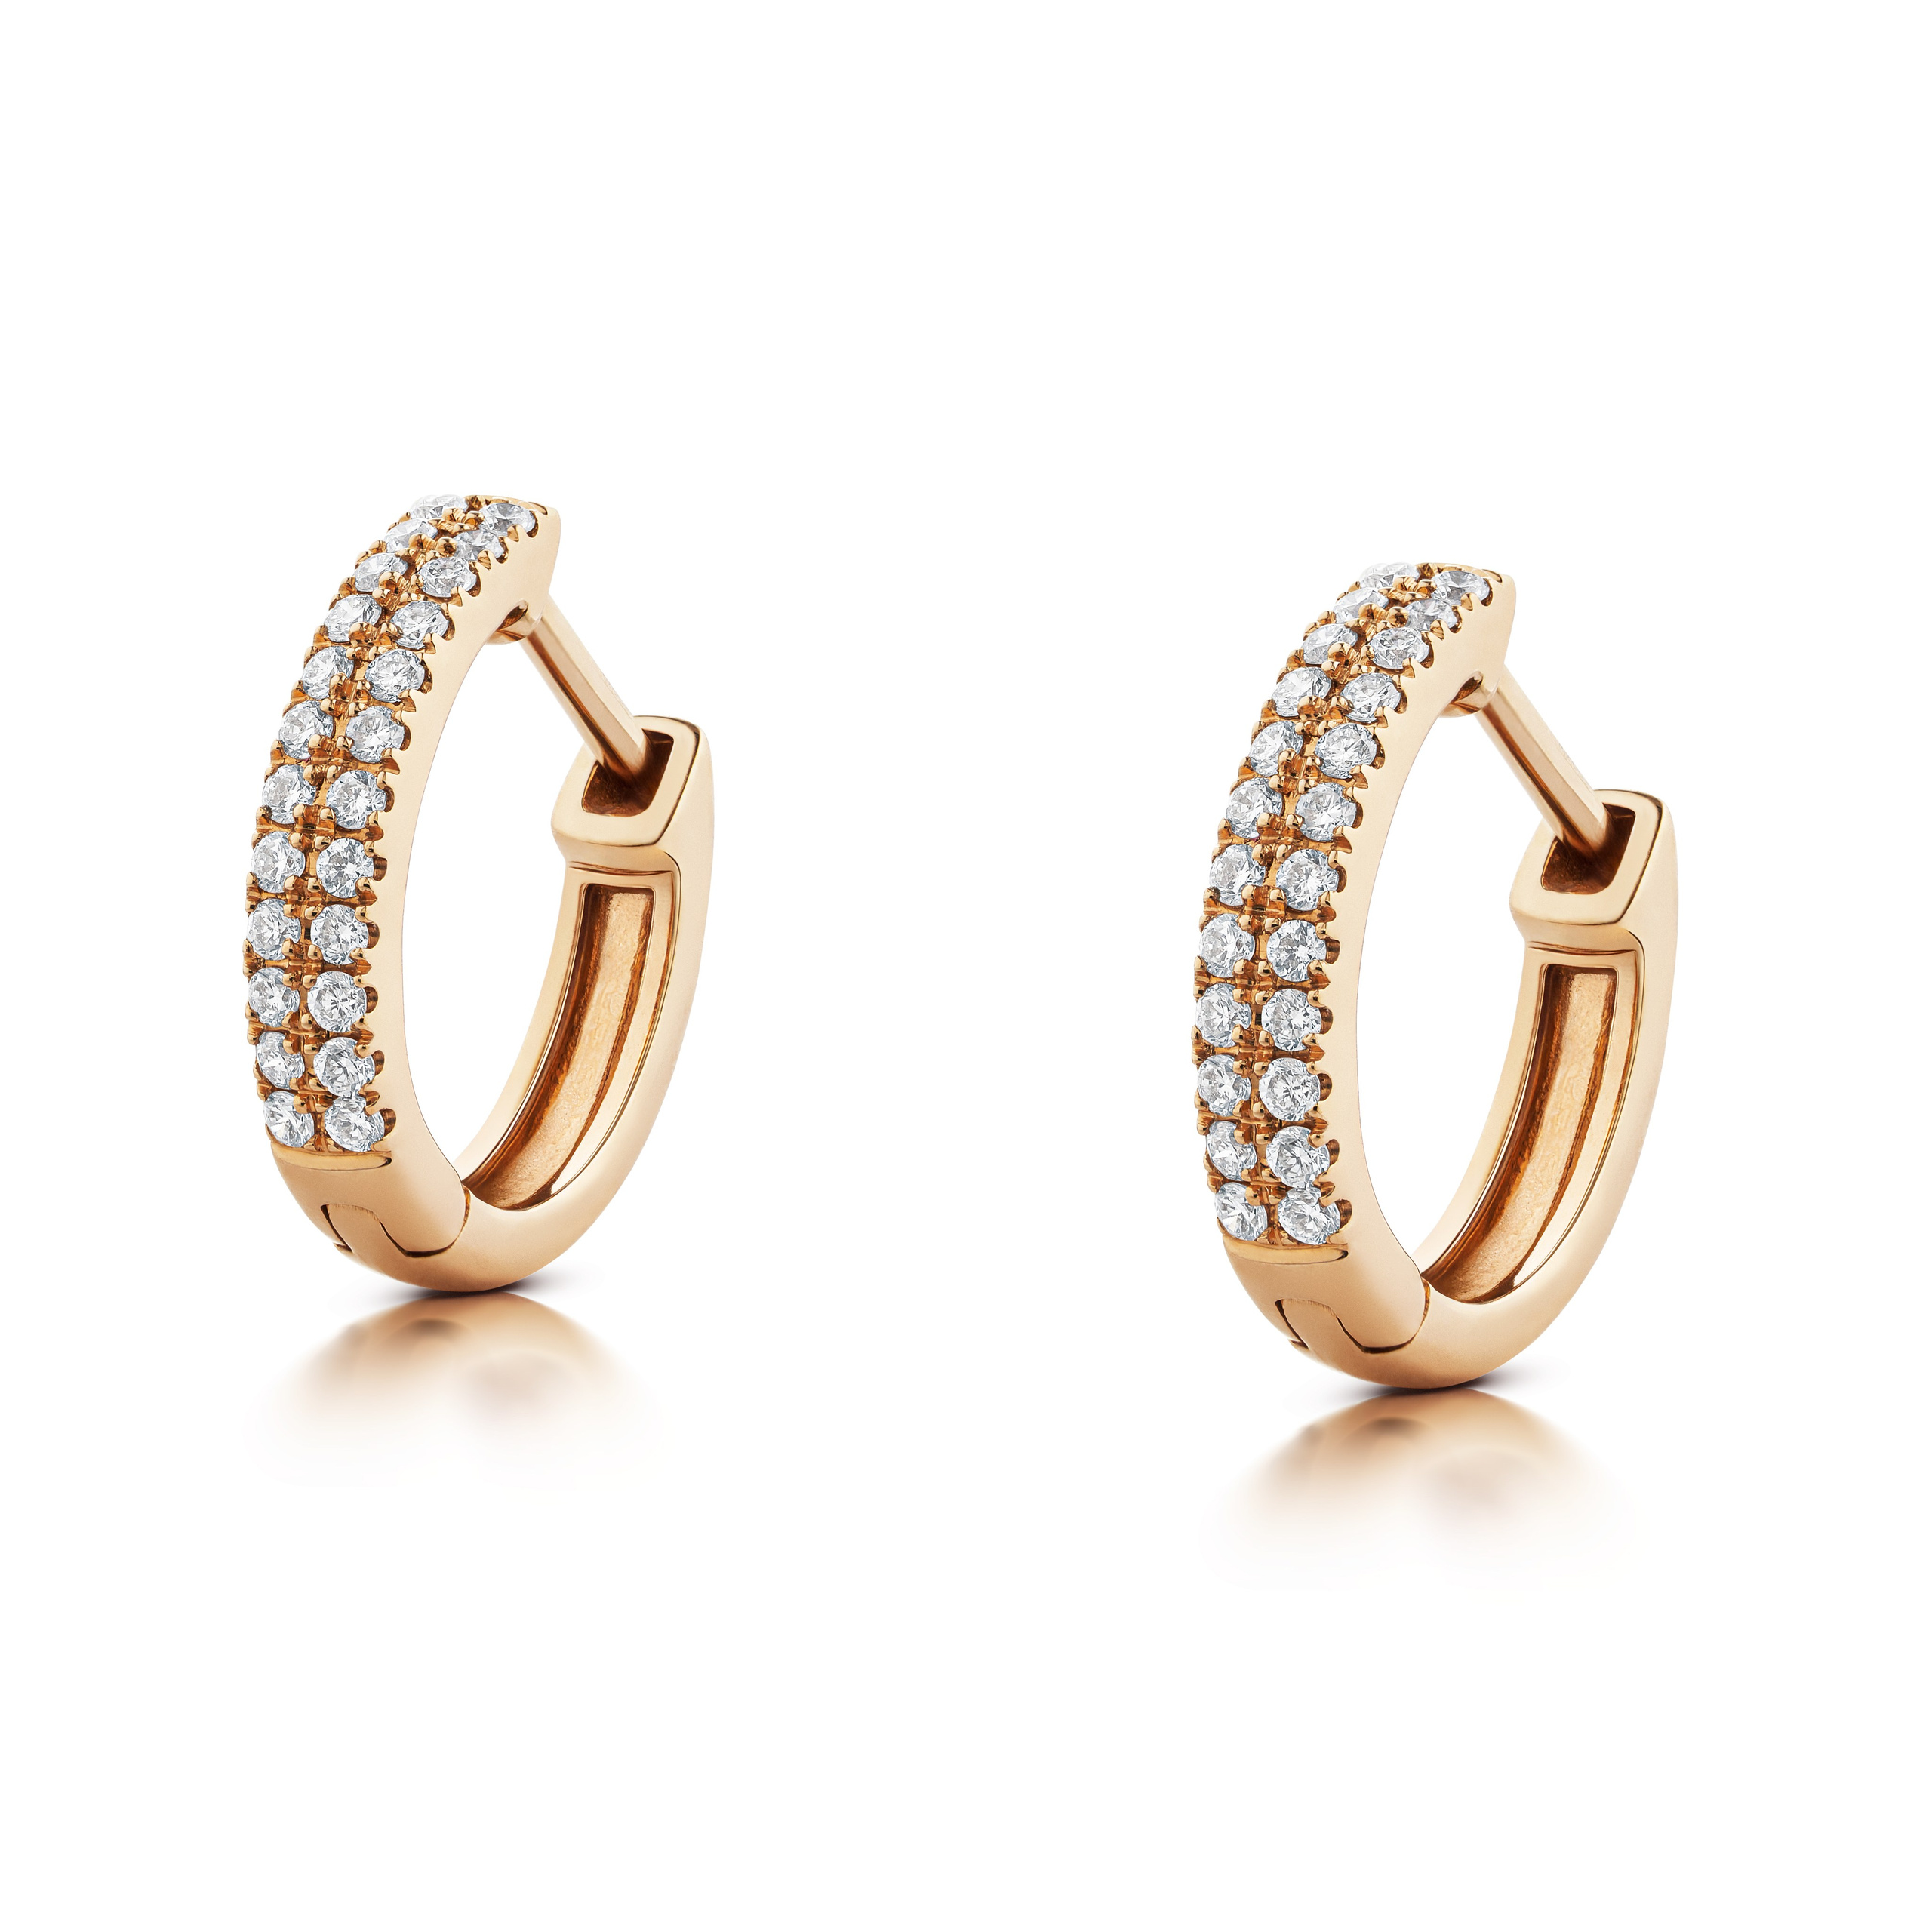
Why your gold comes out looking like yellow plastic
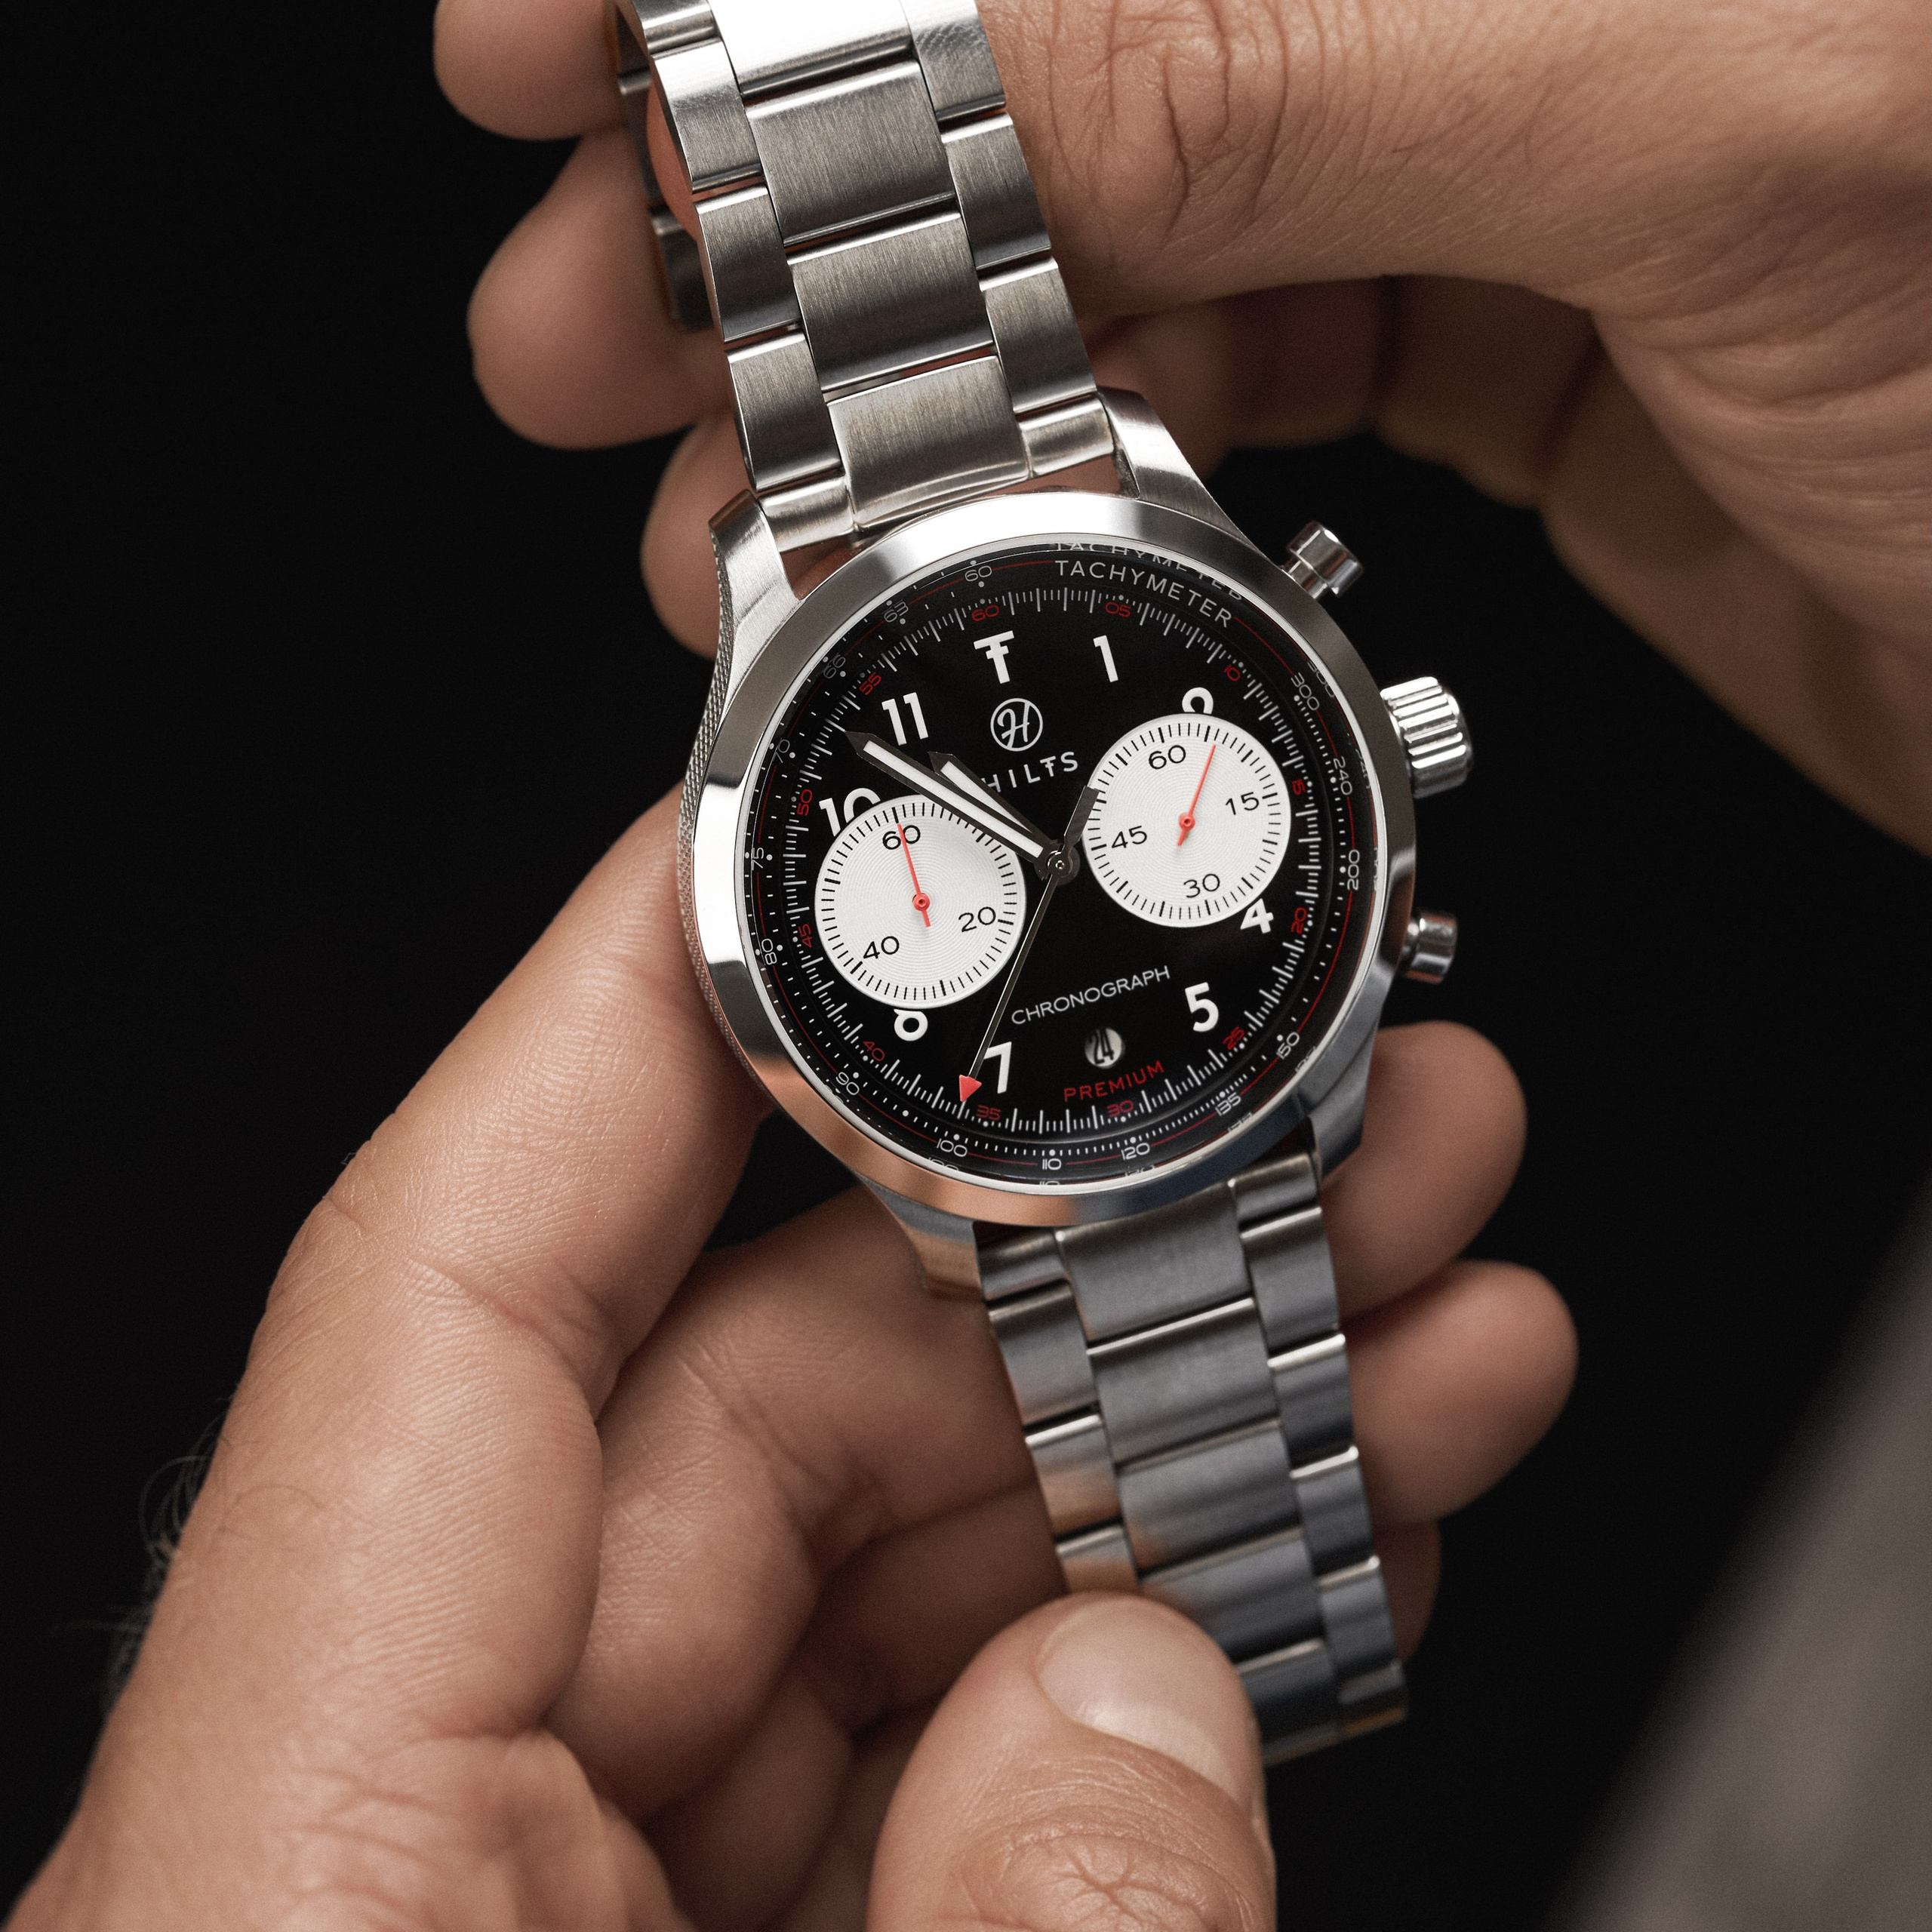
A dial under glass: the problem nobody sees until they do
Why Amazon and Zalando Reject Your Product Photos
Why Do Watches Show 10:10 in Photos? Myths and the Real Reason
Still life photography in Barcelona
Product Photography for the Web in Barcelona: A Complete Guide to Improving Your Online Presence

Professional Product Photos: What They Change in Your Sales