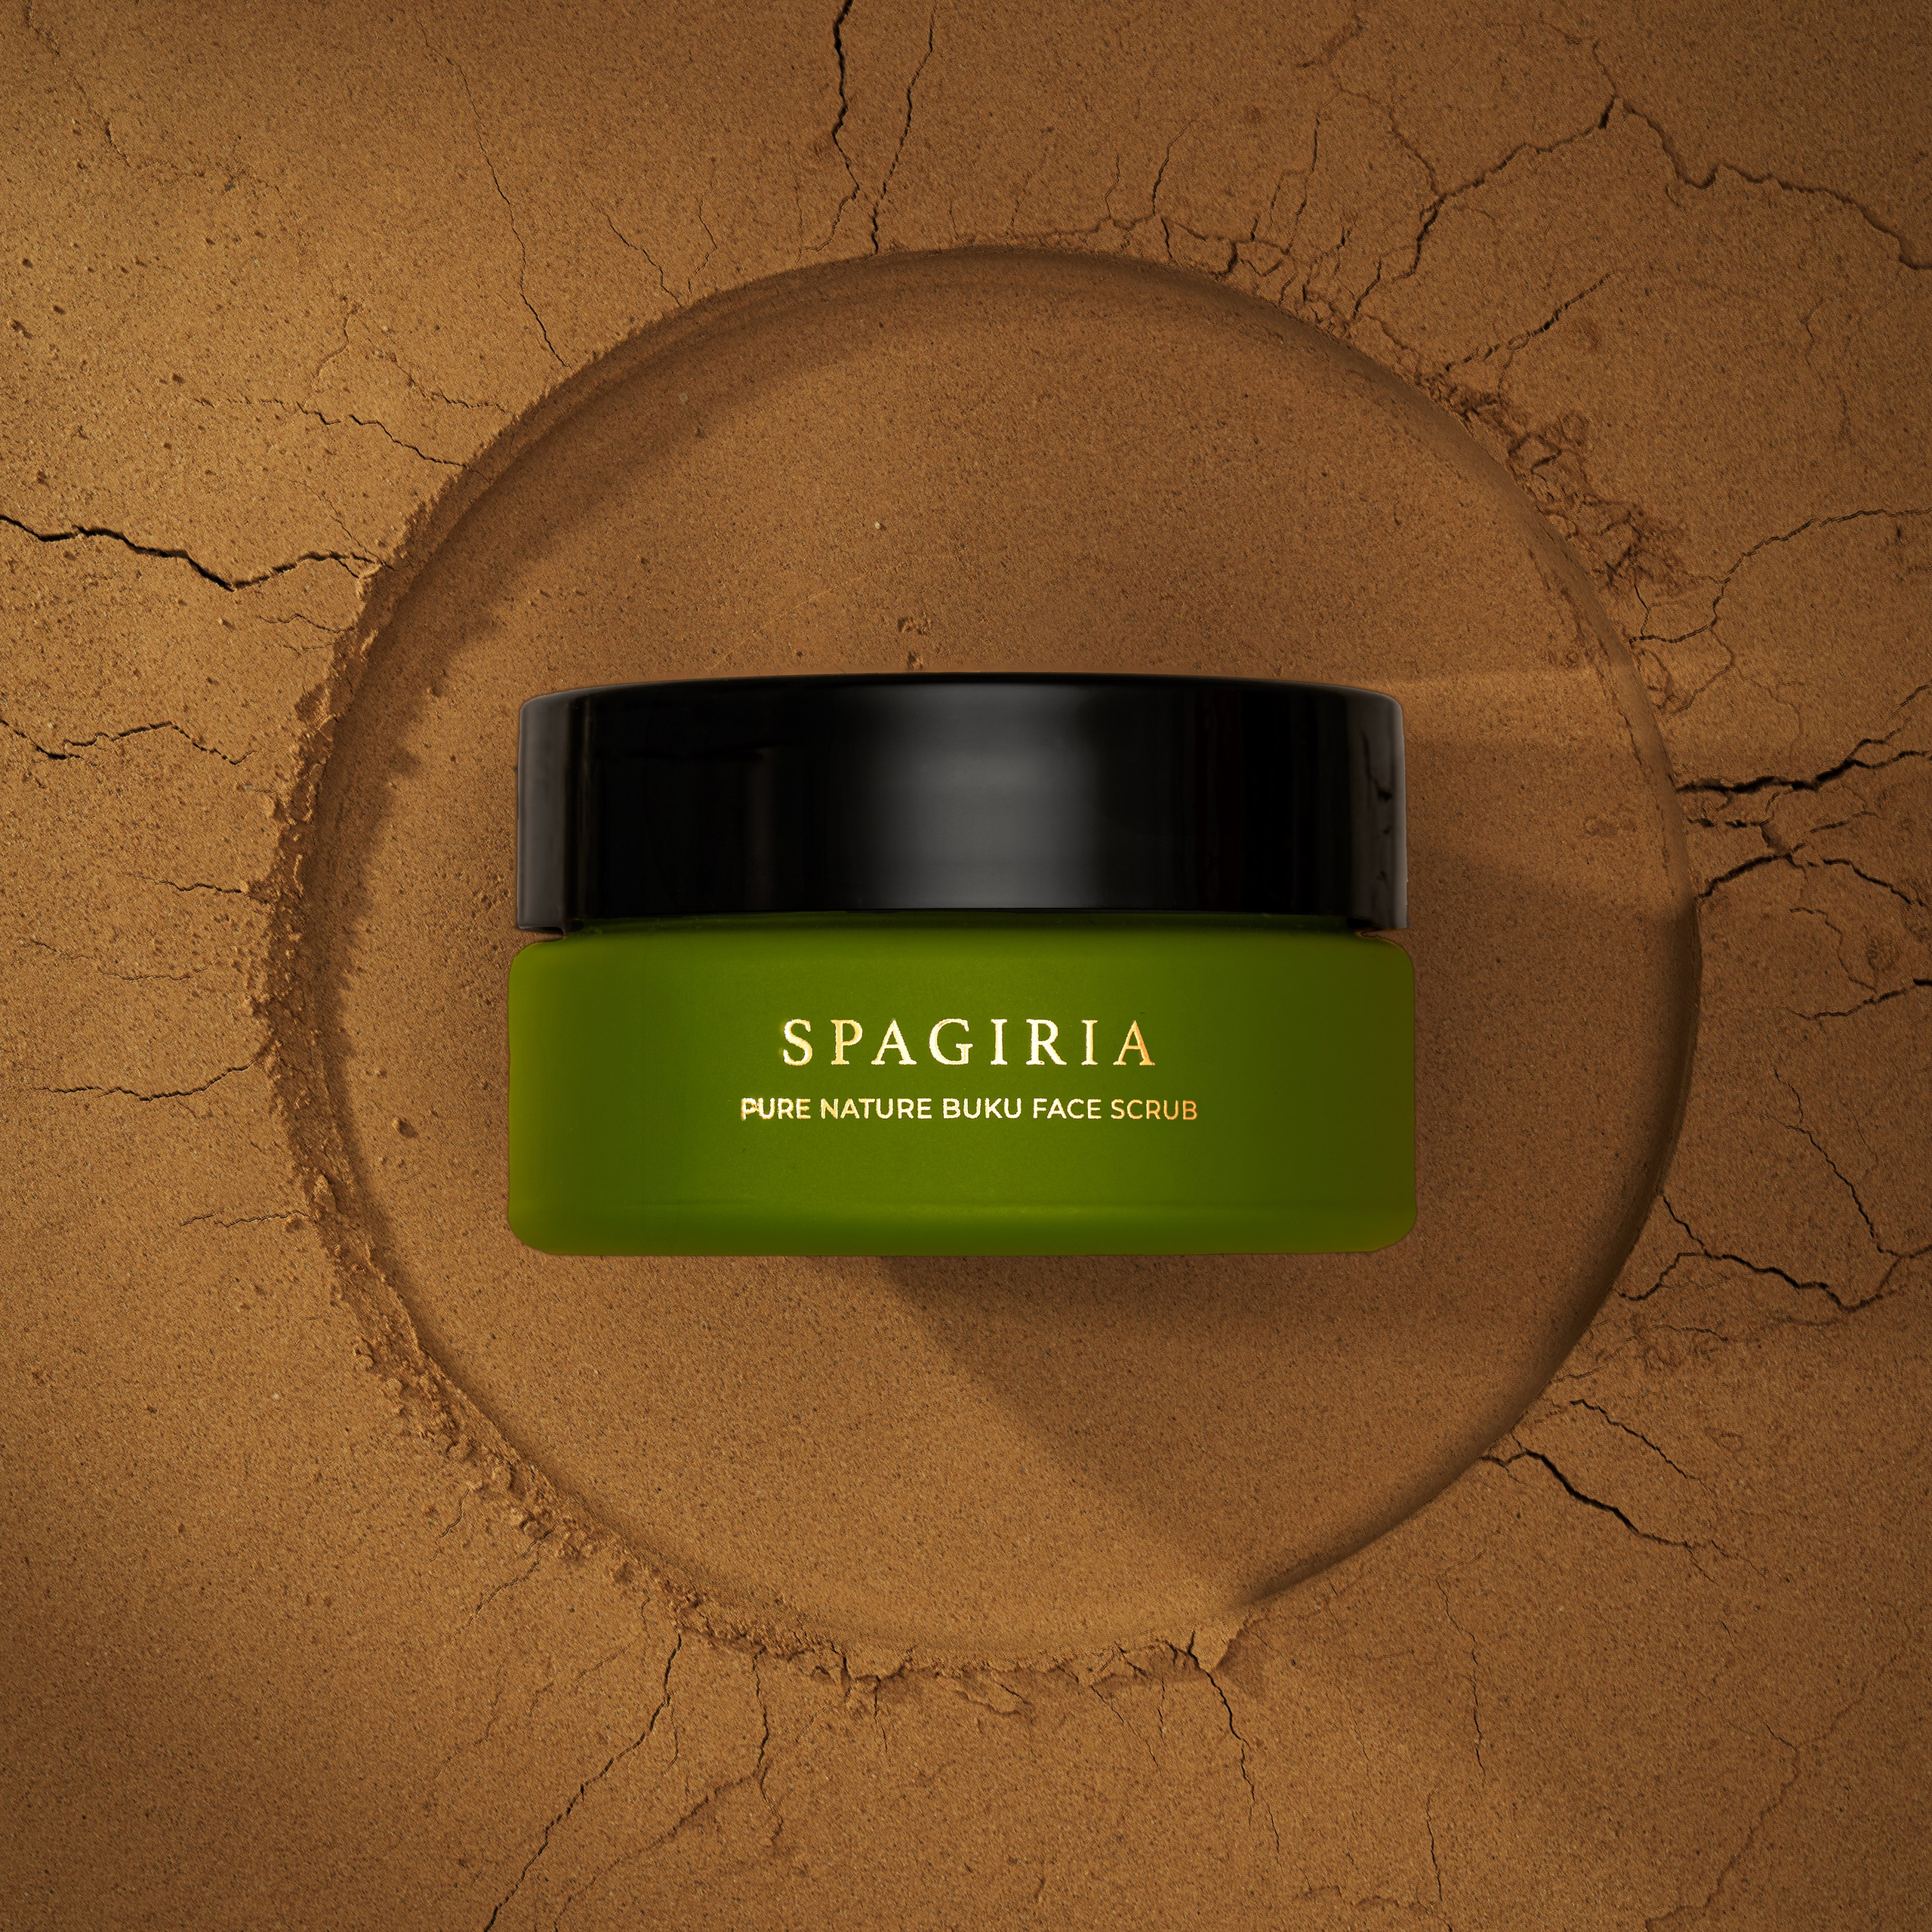
I want to share some essential tips if you’ve decided to photograph your products yourself.
Here are a few simple yet effective rules to help you achieve stunning results:
- Photograph near a window or outdoors during the day, using natural light. This will give your photos a soft and natural look that’s hard to achieve with artificial lighting.
- Avoid using artificial light. If it’s already dark or too cloudy outside, it’s better to reschedule the shoot for the next day. Natural light works wonders!
- Prepare in advance: choose your shoot ideas and select appropriate props. Create a small mood board for inspiration and planning.
- For DIY shoots, it’s best to use light and neutral backgrounds rather than bright and contrasting ones. A neutral background helps focus attention on the product without distractions.
- Use office putty to secure items that might roll around. This is a little secret from the pros!
- Take your time and be patient to find the right angle and proportions for each shot. Your perseverance will pay off.
- Group your products by size and photograph them in sequence, starting with the smallest and moving to the largest. This helps keep the shooting process organized.
- Learn the requirements of the platforms where you plan to upload the photos (e.g., Amazon’s image ratio is 1:1). Meeting these requirements will make uploading easier and improve your product’s visibility.
- If you plan to do color correction, do it moderately. The product should match its natural color to avoid returns. Honest and accurate images help build customer trust.
- The rest comes with practice.
Remember, every shot is a step towards mastering the craft 🙌🏻
And if you don’t want to handle the photography yourself or want to achieve professional results without the hassle, I’m always here to help! My goal is to make your products look irresistible in photos.
Blog
10 Photo Elements That Sell Your Products on Amazon
Selling products on Amazon requires more than just quality items—it needs a smart presentation strategy. Highlighting...
8 Essential Points for an Effective Product Photography Brief
A professional and concise photography brief unlock the fullest potential of your product through the power...
Why Do Watches Show 10:10 in Photos? Myths and the Real Reason
If you’ve ever browsed a watch catalogue or searched for watches online, you’ve probably noticed something...

What Does a Product Photographer Do and Why Does Your Brand Need One?
Discover what a product photographer does and why your brand needs professional images to sell more online.
Photography for online stores – sell more by showcasing better.
Discover how good product photos can transform your online store. Practical tips, real examples, and key strategies...
Product Photography in Barcelona
Product photography plays a crucial role in how a brand is perceived and influences customers' buying decisions....

360 Product Photography: Revolutionize Your Product Presentation
In today’s digital world, where visuals are everything, 360 product photography has become an essential tool for...
Photography for eCommerce: Keys to Boost Your Online Sales
Learn how product photography can transform your online store. This article provides essential tips—from proper...
How to Take Stunning Product Photos at Home: Creative Photography Tips
Do you want to capture professional-quality product photos without leaving your house? With these simple tips, you...
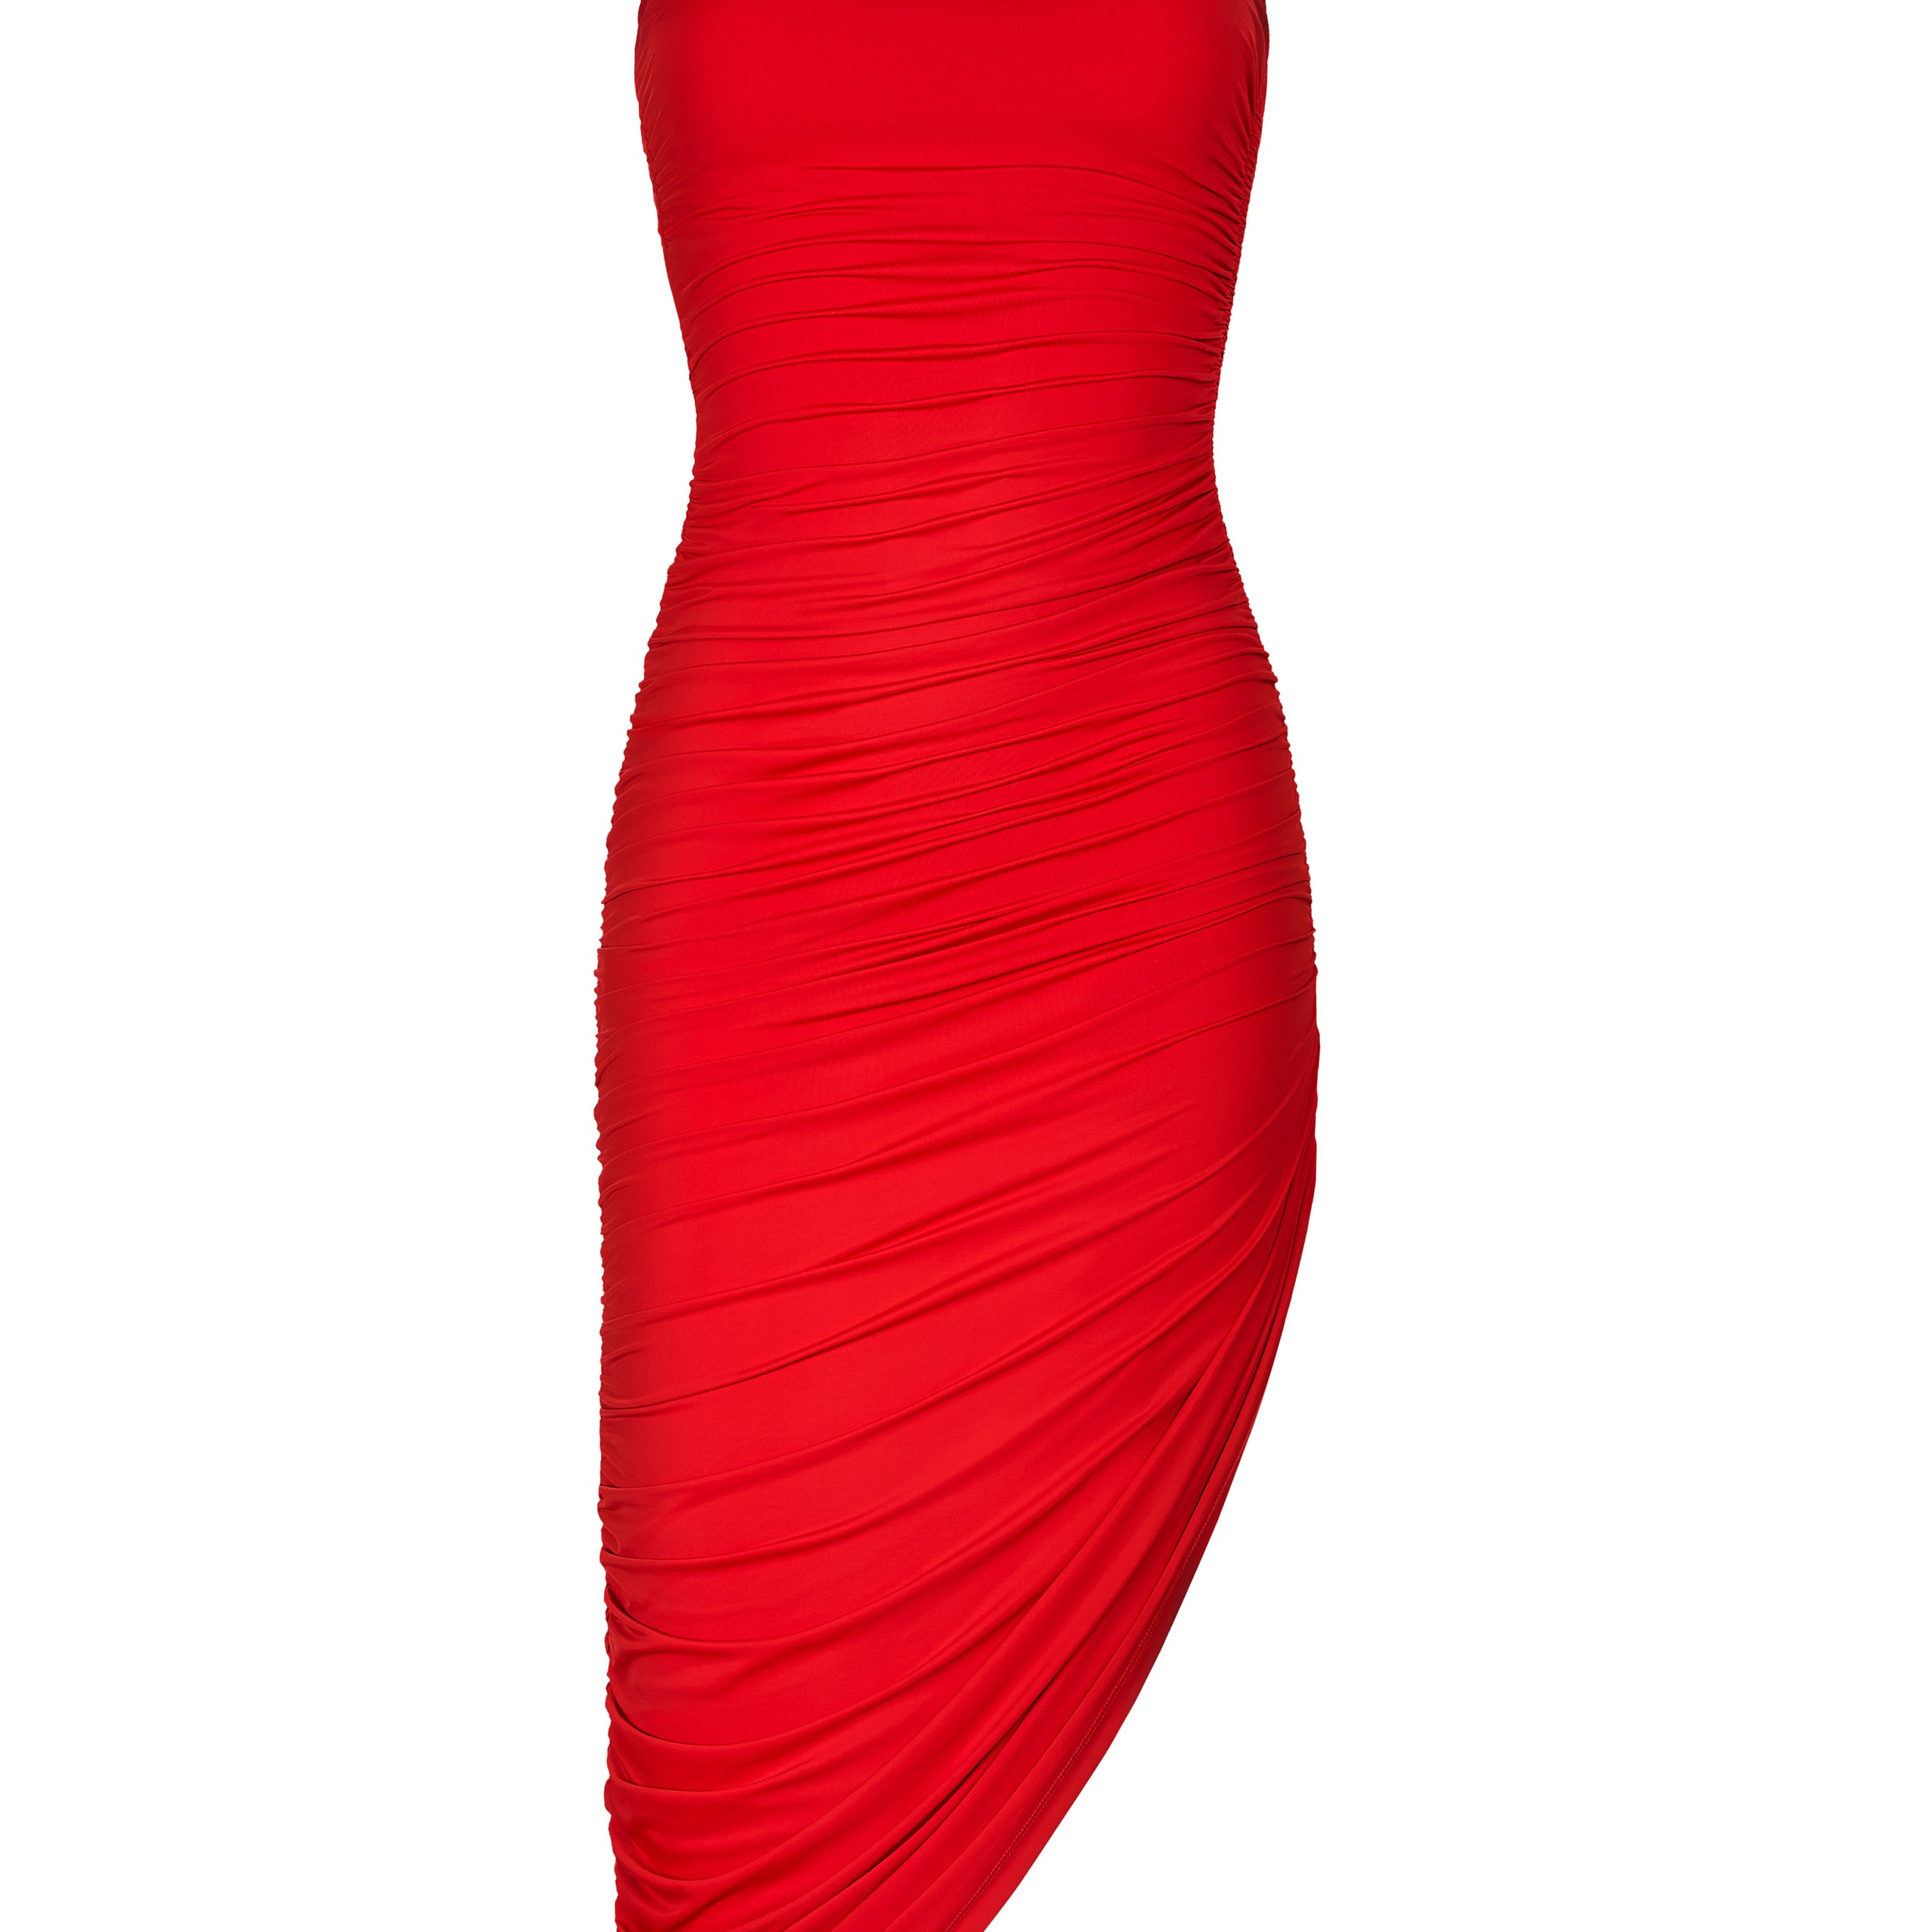
Fashion and Apparel Photography for Catalogs and Lookbooks: Why Professional Images are Key for Your Brand
In today’s competitive fashion and retail world, a brand’s visual perception plays a crucial role in attracting...
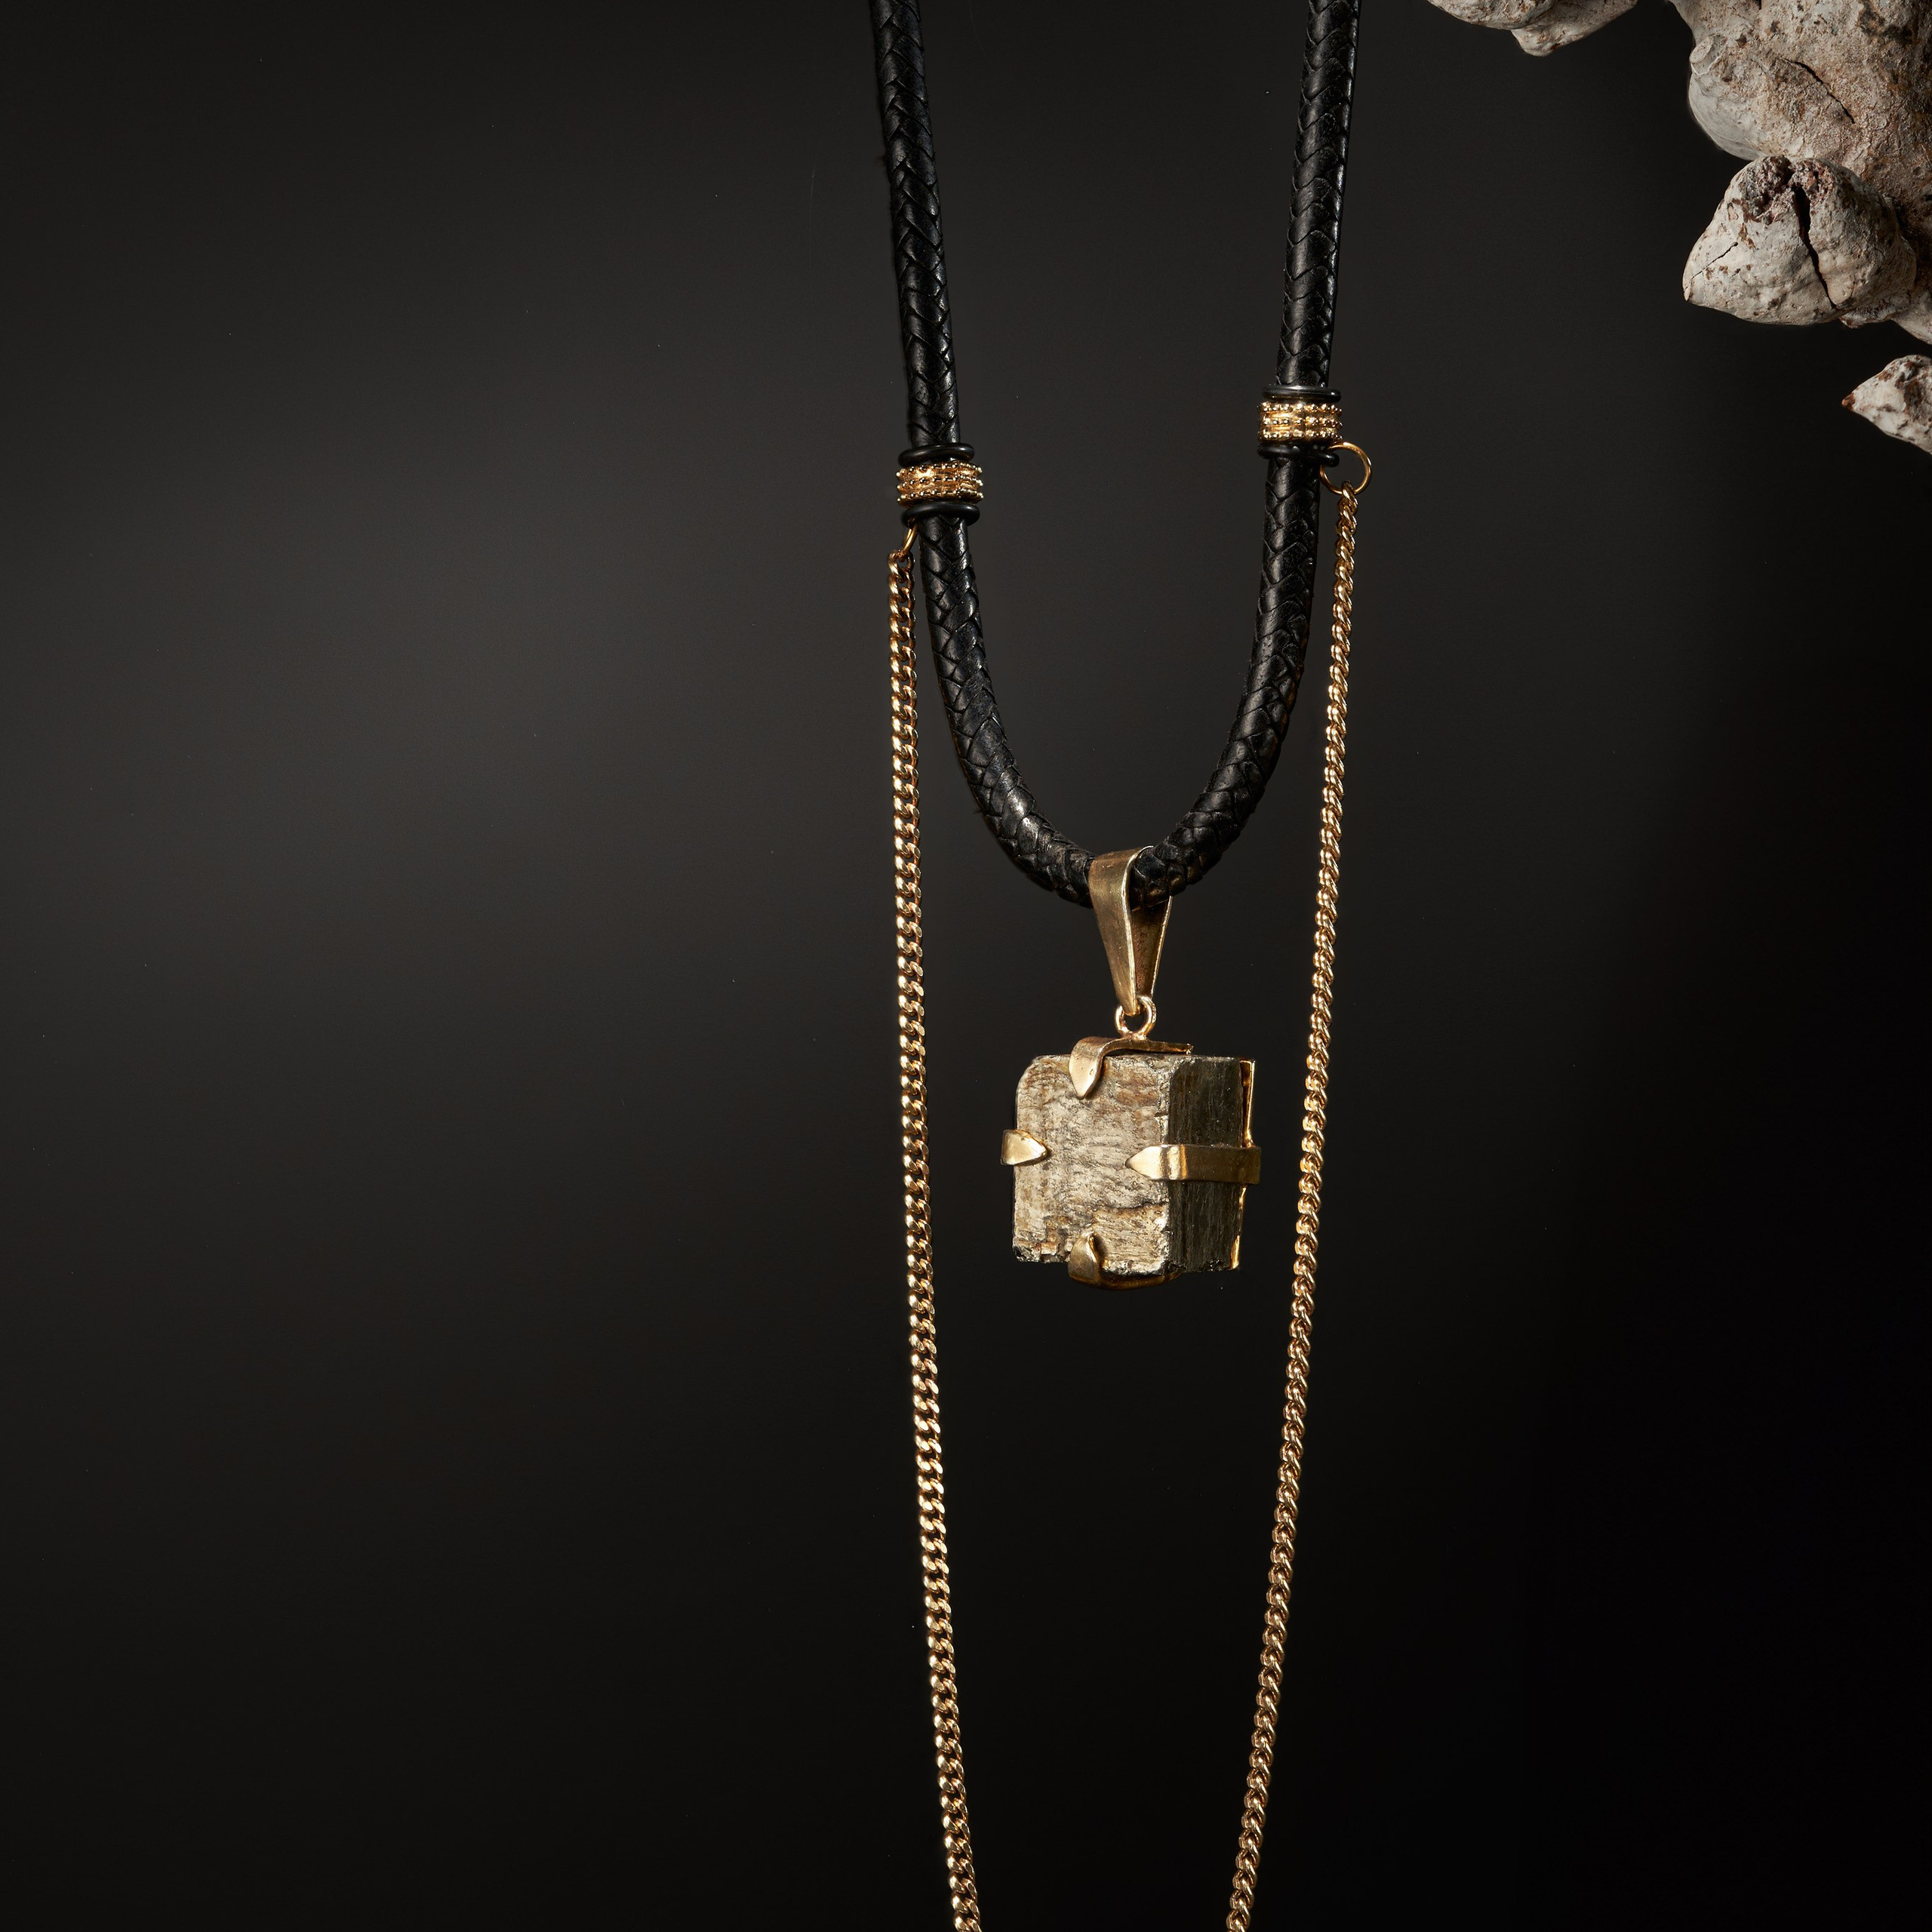
Jewelry and Product Photography for Catalogs in Barcelona: How to Attract Customers with High-Quality Images
In the world of retail, especially in sectors like jewelry where details and presentation are crucial, having...
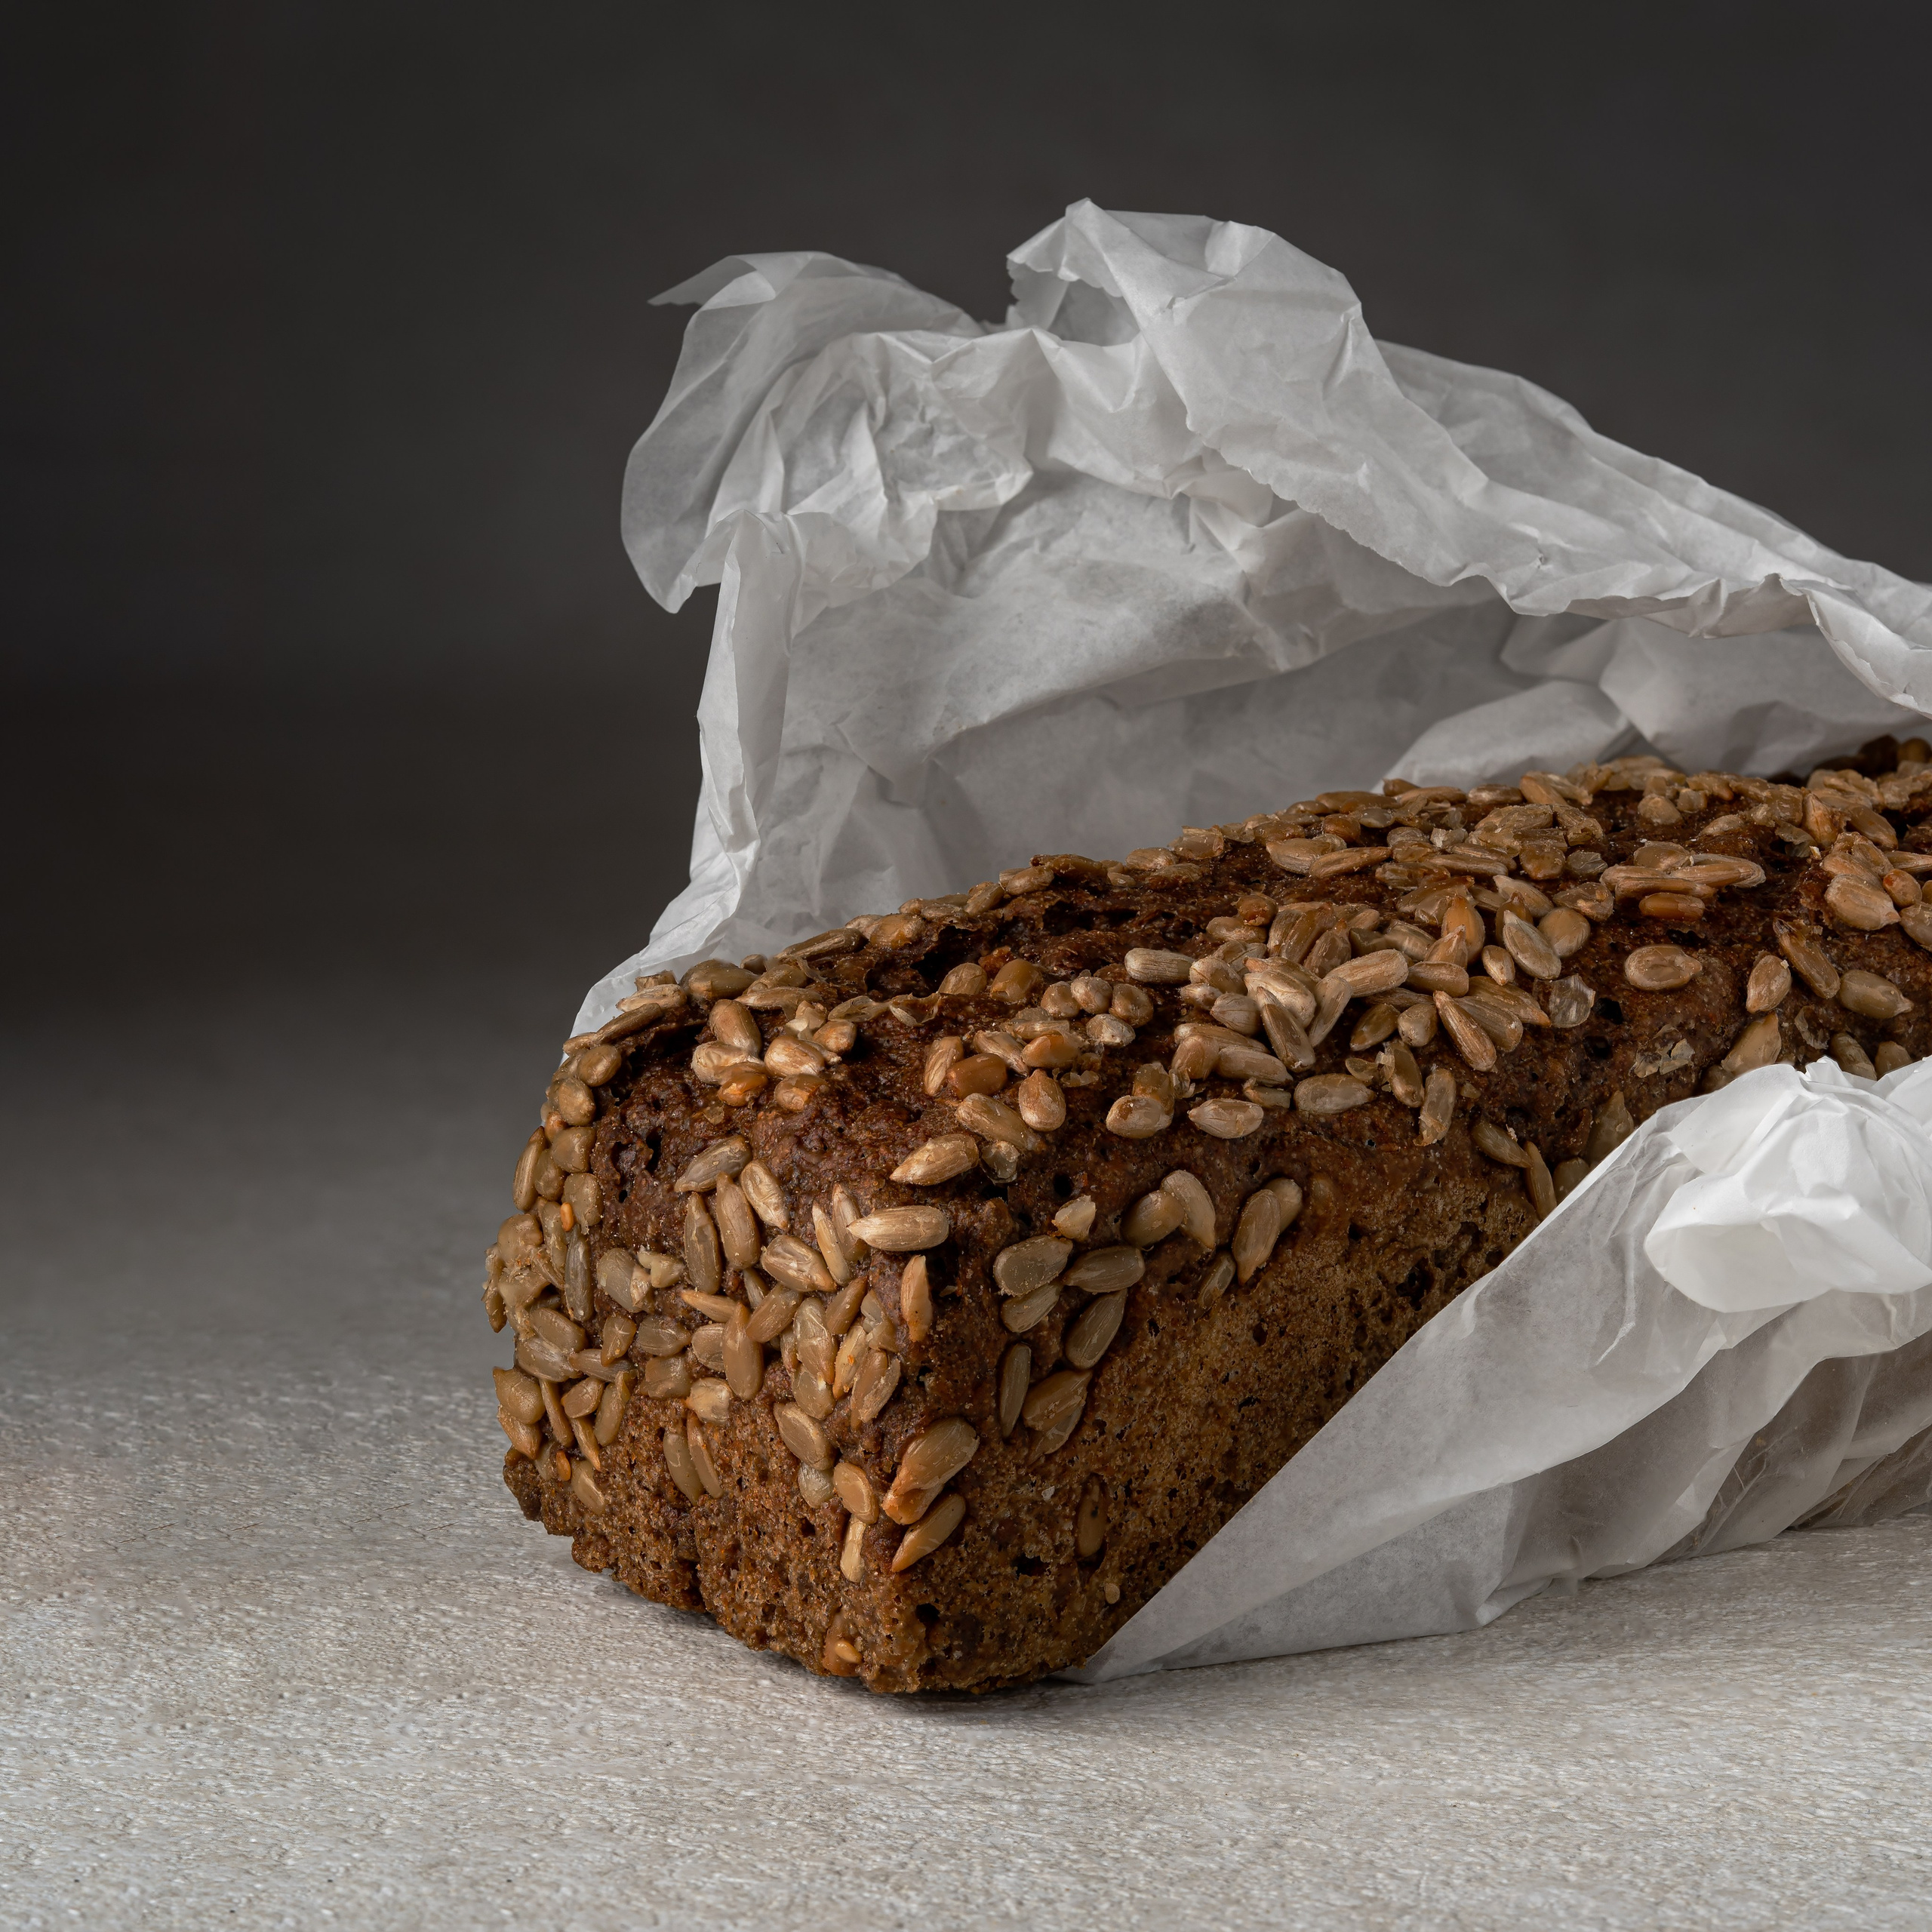
Food Photography in Barcelona: Attract Your Clients with Mouthwatering Images
Food photography has become a key tool for any business related to gastronomy, especially in a cosmopolitan and...
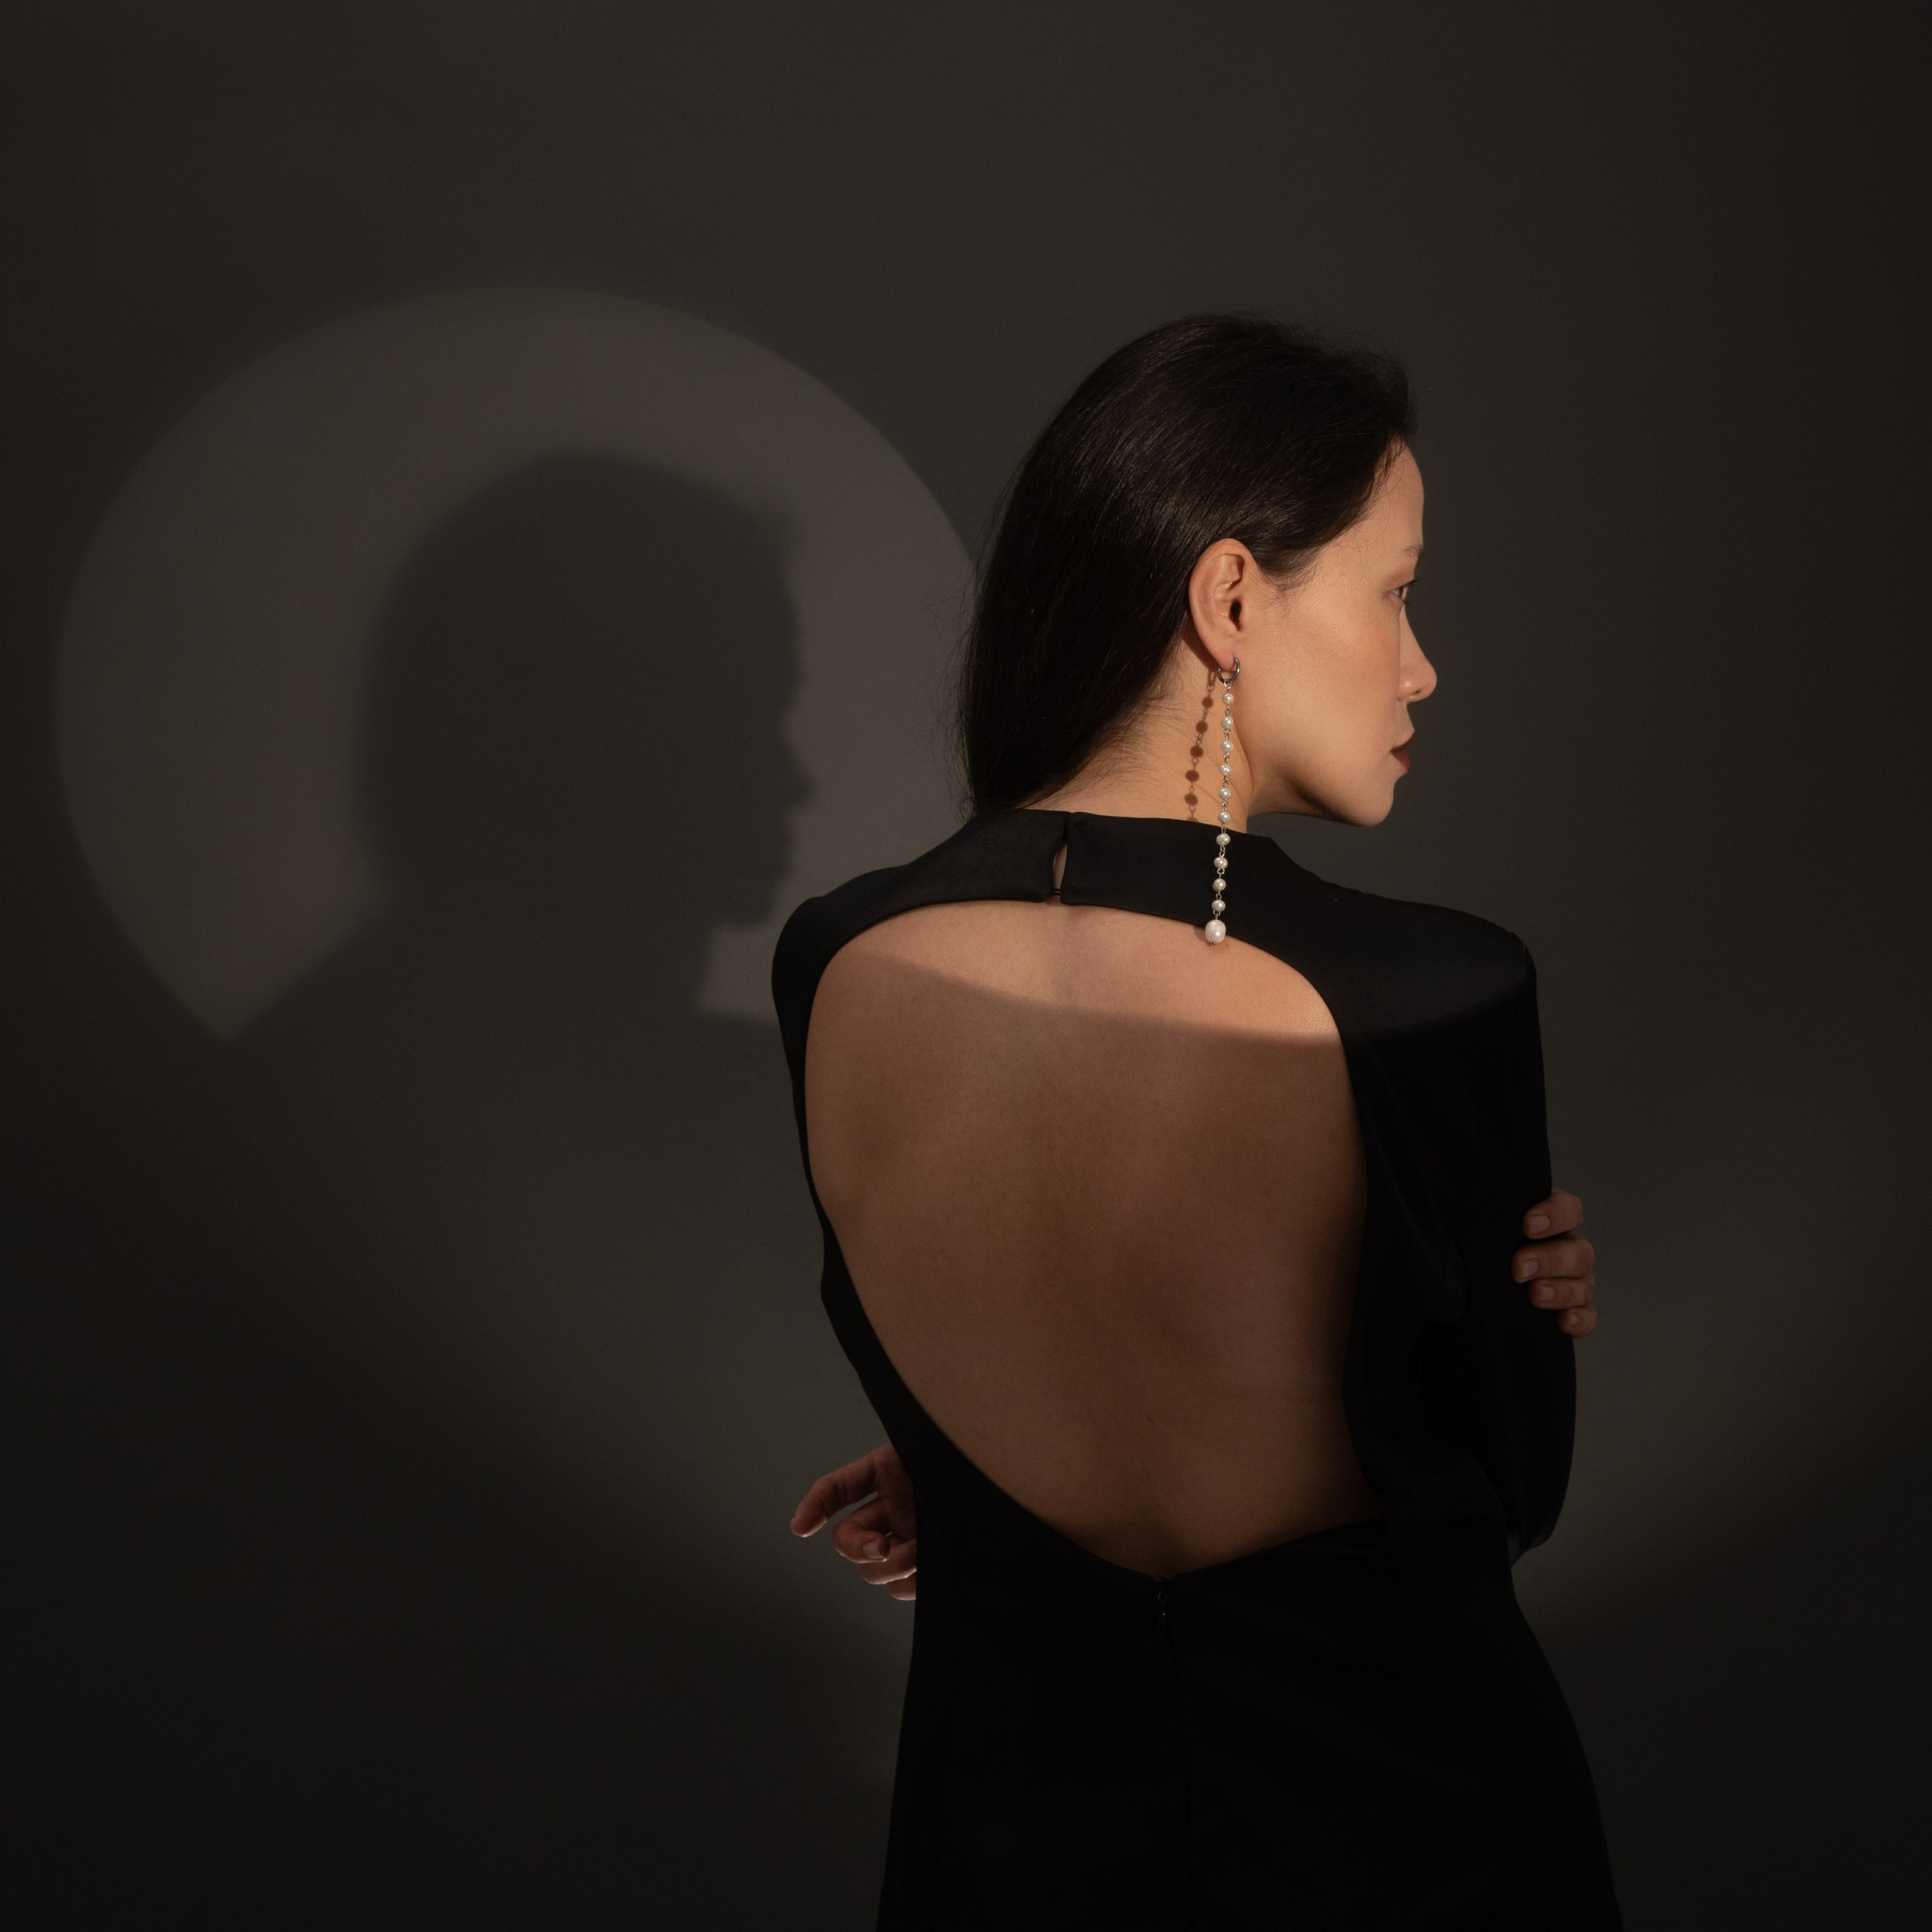
Product Photography for the Web in Barcelona: A Complete Guide to Improving Your Online Presence
In today’s digital age, product photography for the web has become an essential element for any business looking...
Still Life Photographers in Barcelona: Complete Guide
Still life photography is an artistic discipline focused on capturing images of inanimate objects, highlighting their...

3 Common Misconceptions About Marketplaces in Spain: Sellers' Perspective
Explore why professional photography is crucial for sellers on marketplaces. Learn how high-quality images can...

