Hello! My name is Marina, and I have been working as a professional product and food photographer for over 5 years. Today, I want to share with you the basics of food photography on your iPhone.
I will tell you shooting techniques, explain how to take beautiful and professional-looking photos on your phone, and highlight key points to pay attention to.
Choosing a Location for the Shoot
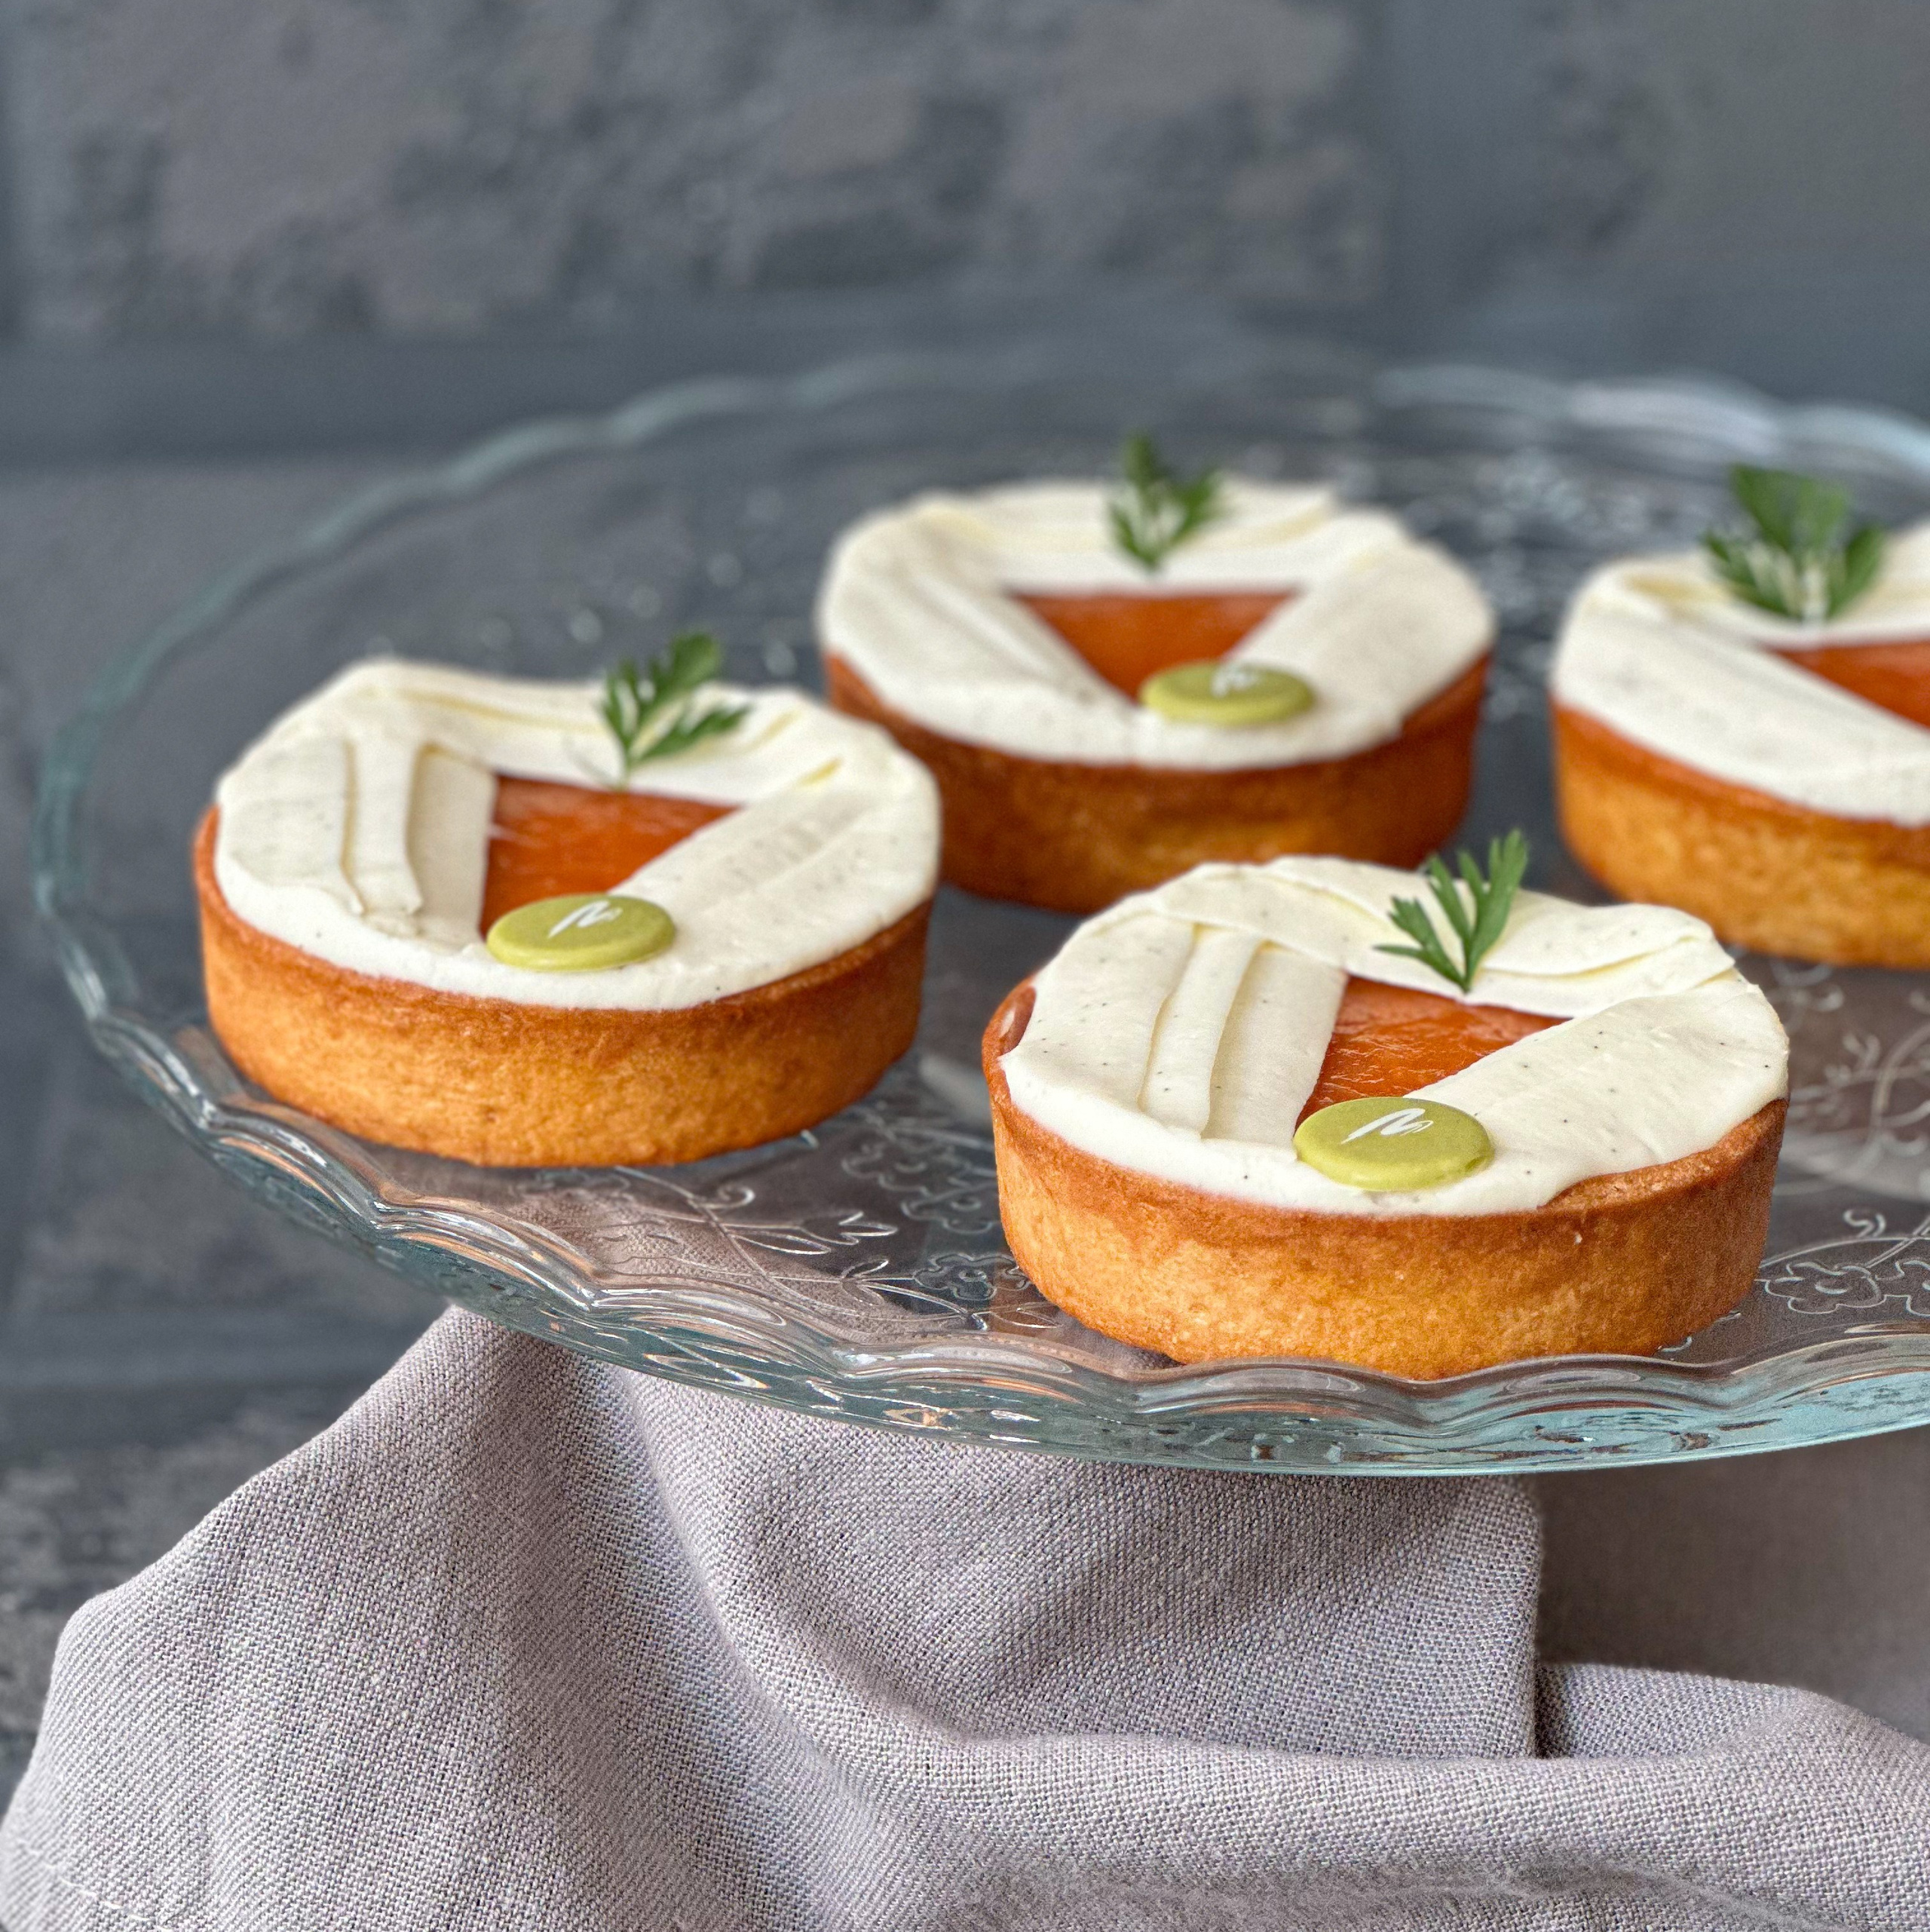
1. Location: The first step is to choose the right location for the shoot. Ideally, place the table so that the window is on either the right or left side of the scene. The most important thing is to avoid direct sunlight, which can overly brighten the shot.
2. Light: It’s best to photograph during daylight hours, avoiding the use of overhead lights (chandeliers and other ceiling lights). Make sure you have enough space to move freely in front of the table where you plan to photograph.
Choosing the Background
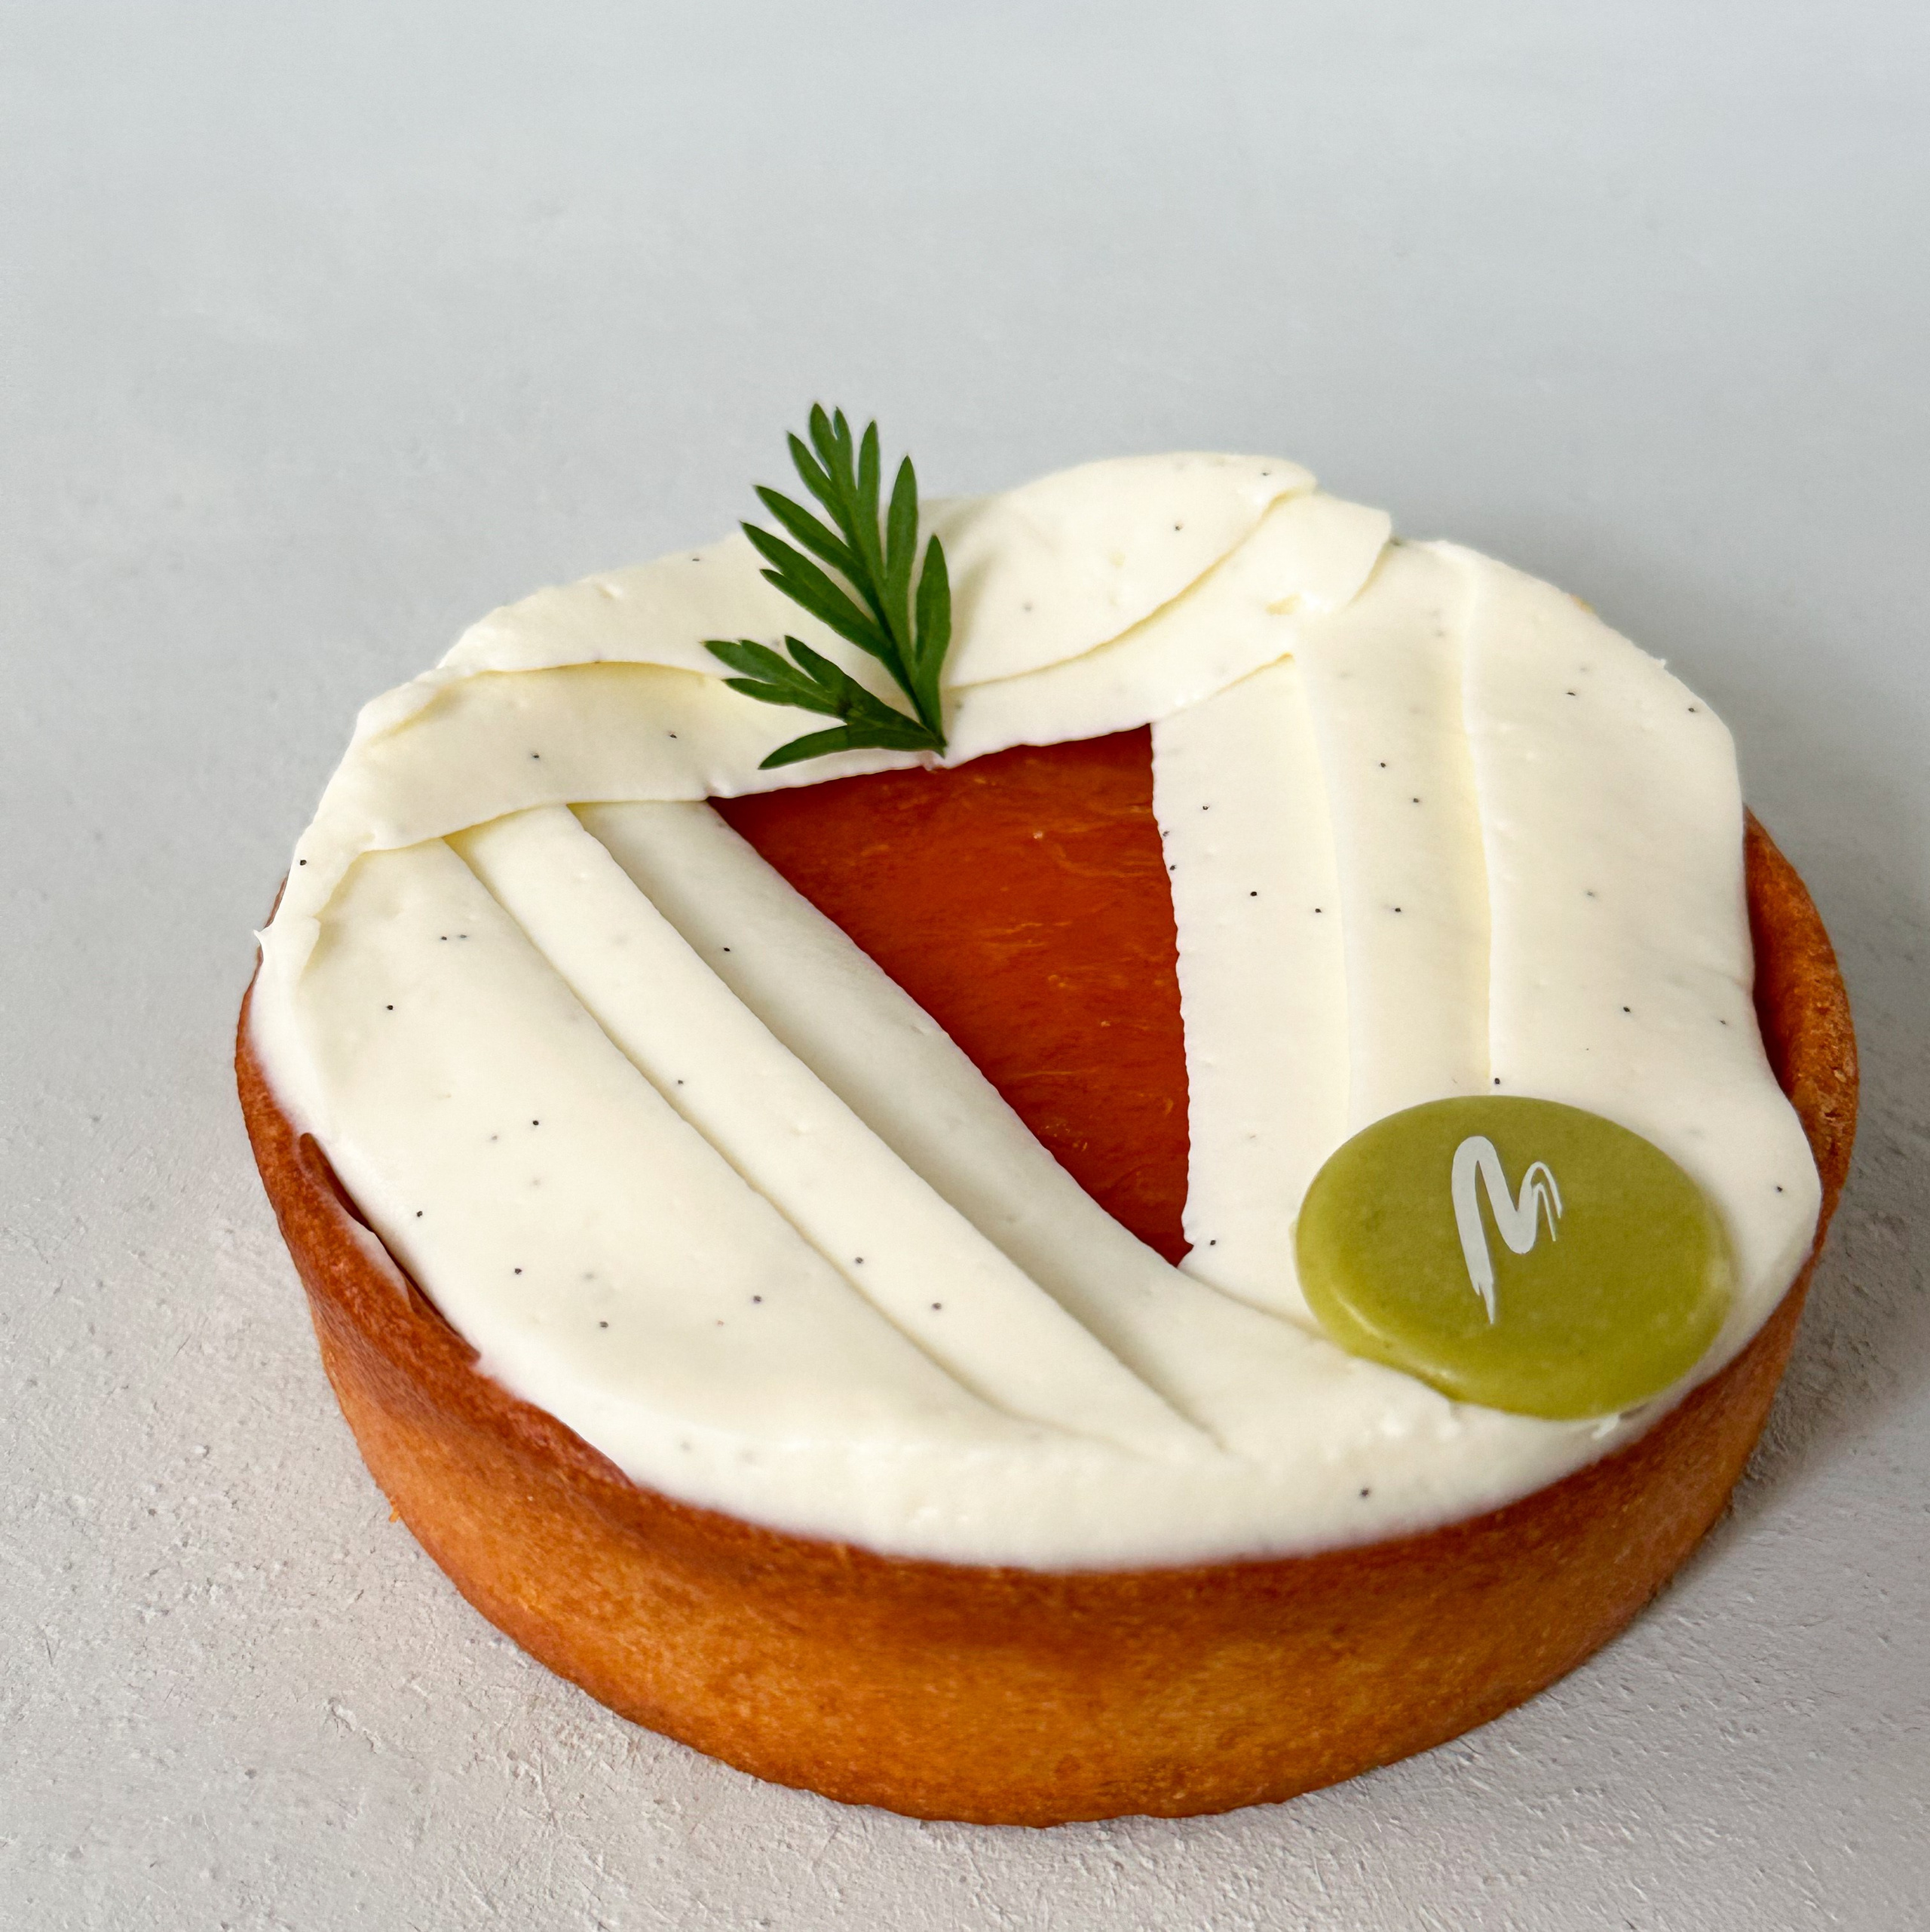
3. Backdrop: After selecting a convenient location, the next step is to choose a background. Choose backgrounds that mimic the textures commonly found in kitchens, such as wood, stone, marble, or tiles. I advise against using plain paper backgrounds, as smooth surfaces are rarely seen in kitchens.
You can use any photo backgrounds with textures: printed paper, vinyl, or specially made backgrounds. I prefer backgrounds with visible texture because close-up photos always reveal the flat texture of printed backgrounds. The best size for the background is approximately 60×90 cm, which is usually sufficient for most dishes.
For small objects like pastries, one background is enough. For larger objects, such as a tall cake, you will need two backgrounds: one for the backdrop and another to simulate a table. I attach the background directly to the wall using masking tape—this is the simplest option. You can also use special stands to secure the background. It’s important to ensure the background is clean.
4. Preparing the Subject
Take your dessert (I recommend using gloves, especially when working with chocolate) and carefully inspect it. It should be clean, neat, and free of dust, hair, and other foreign particles. If you notice any defects, gently remove them with tweezers.
Shooting
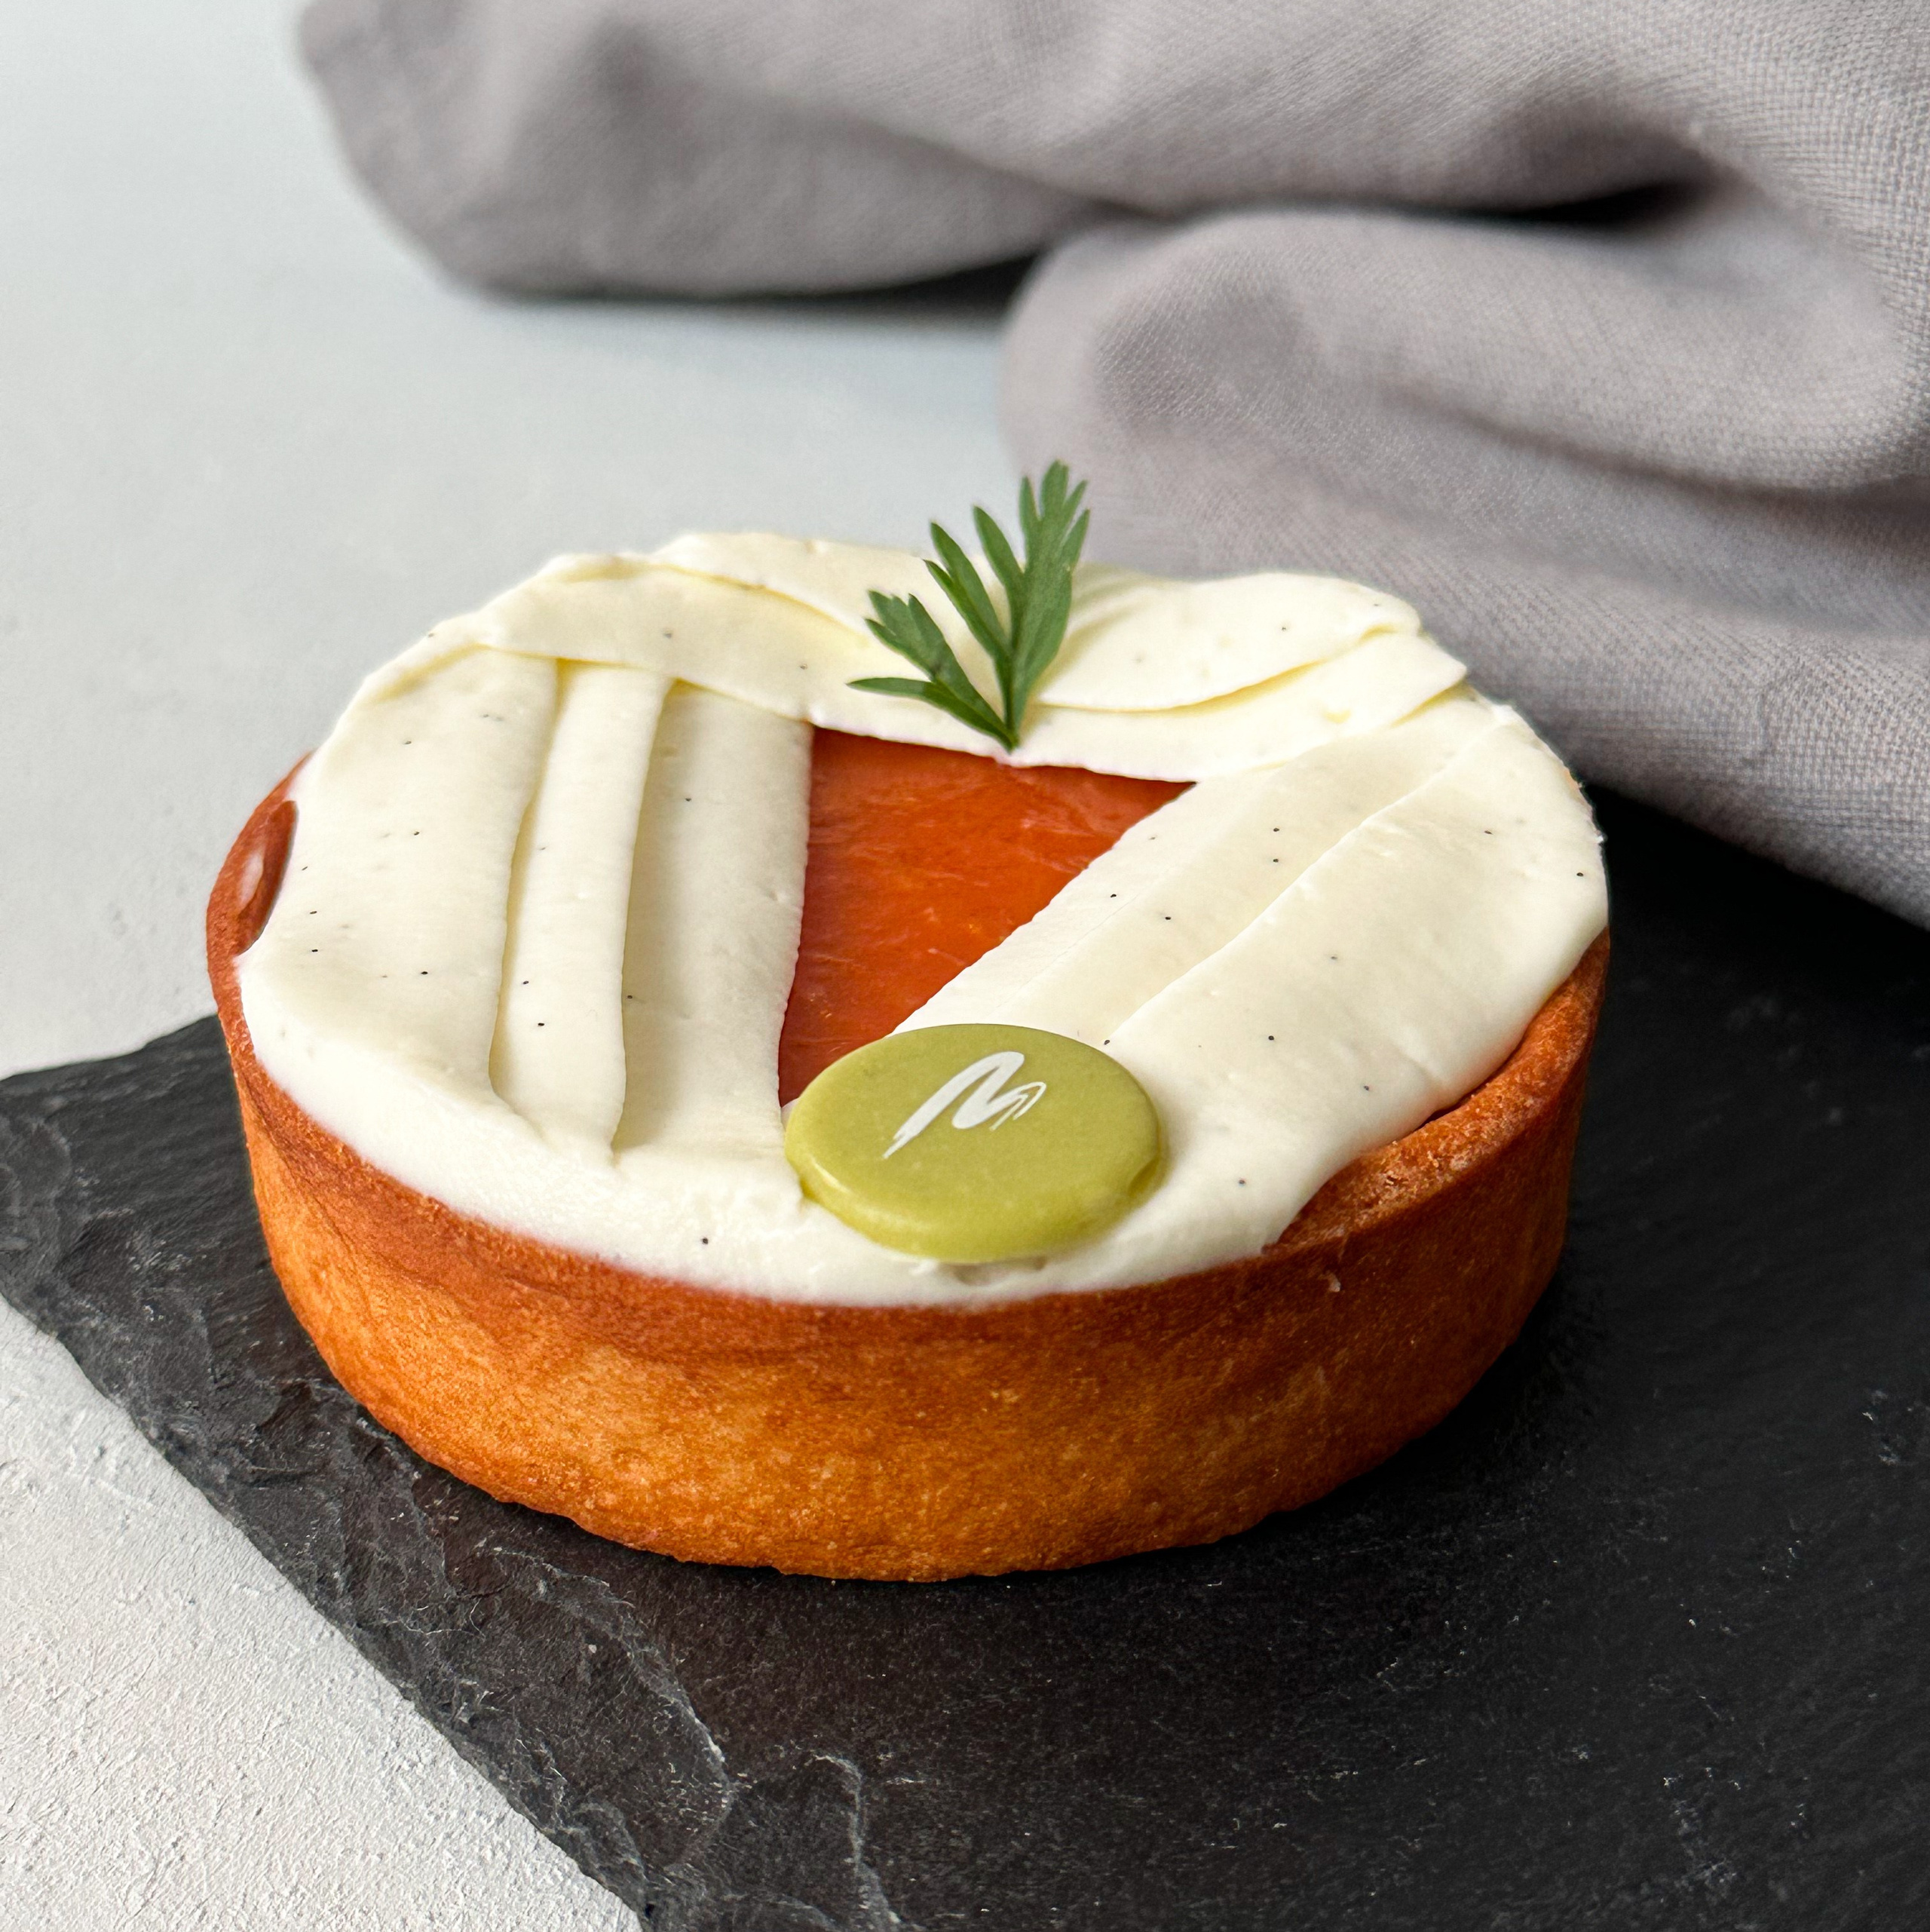
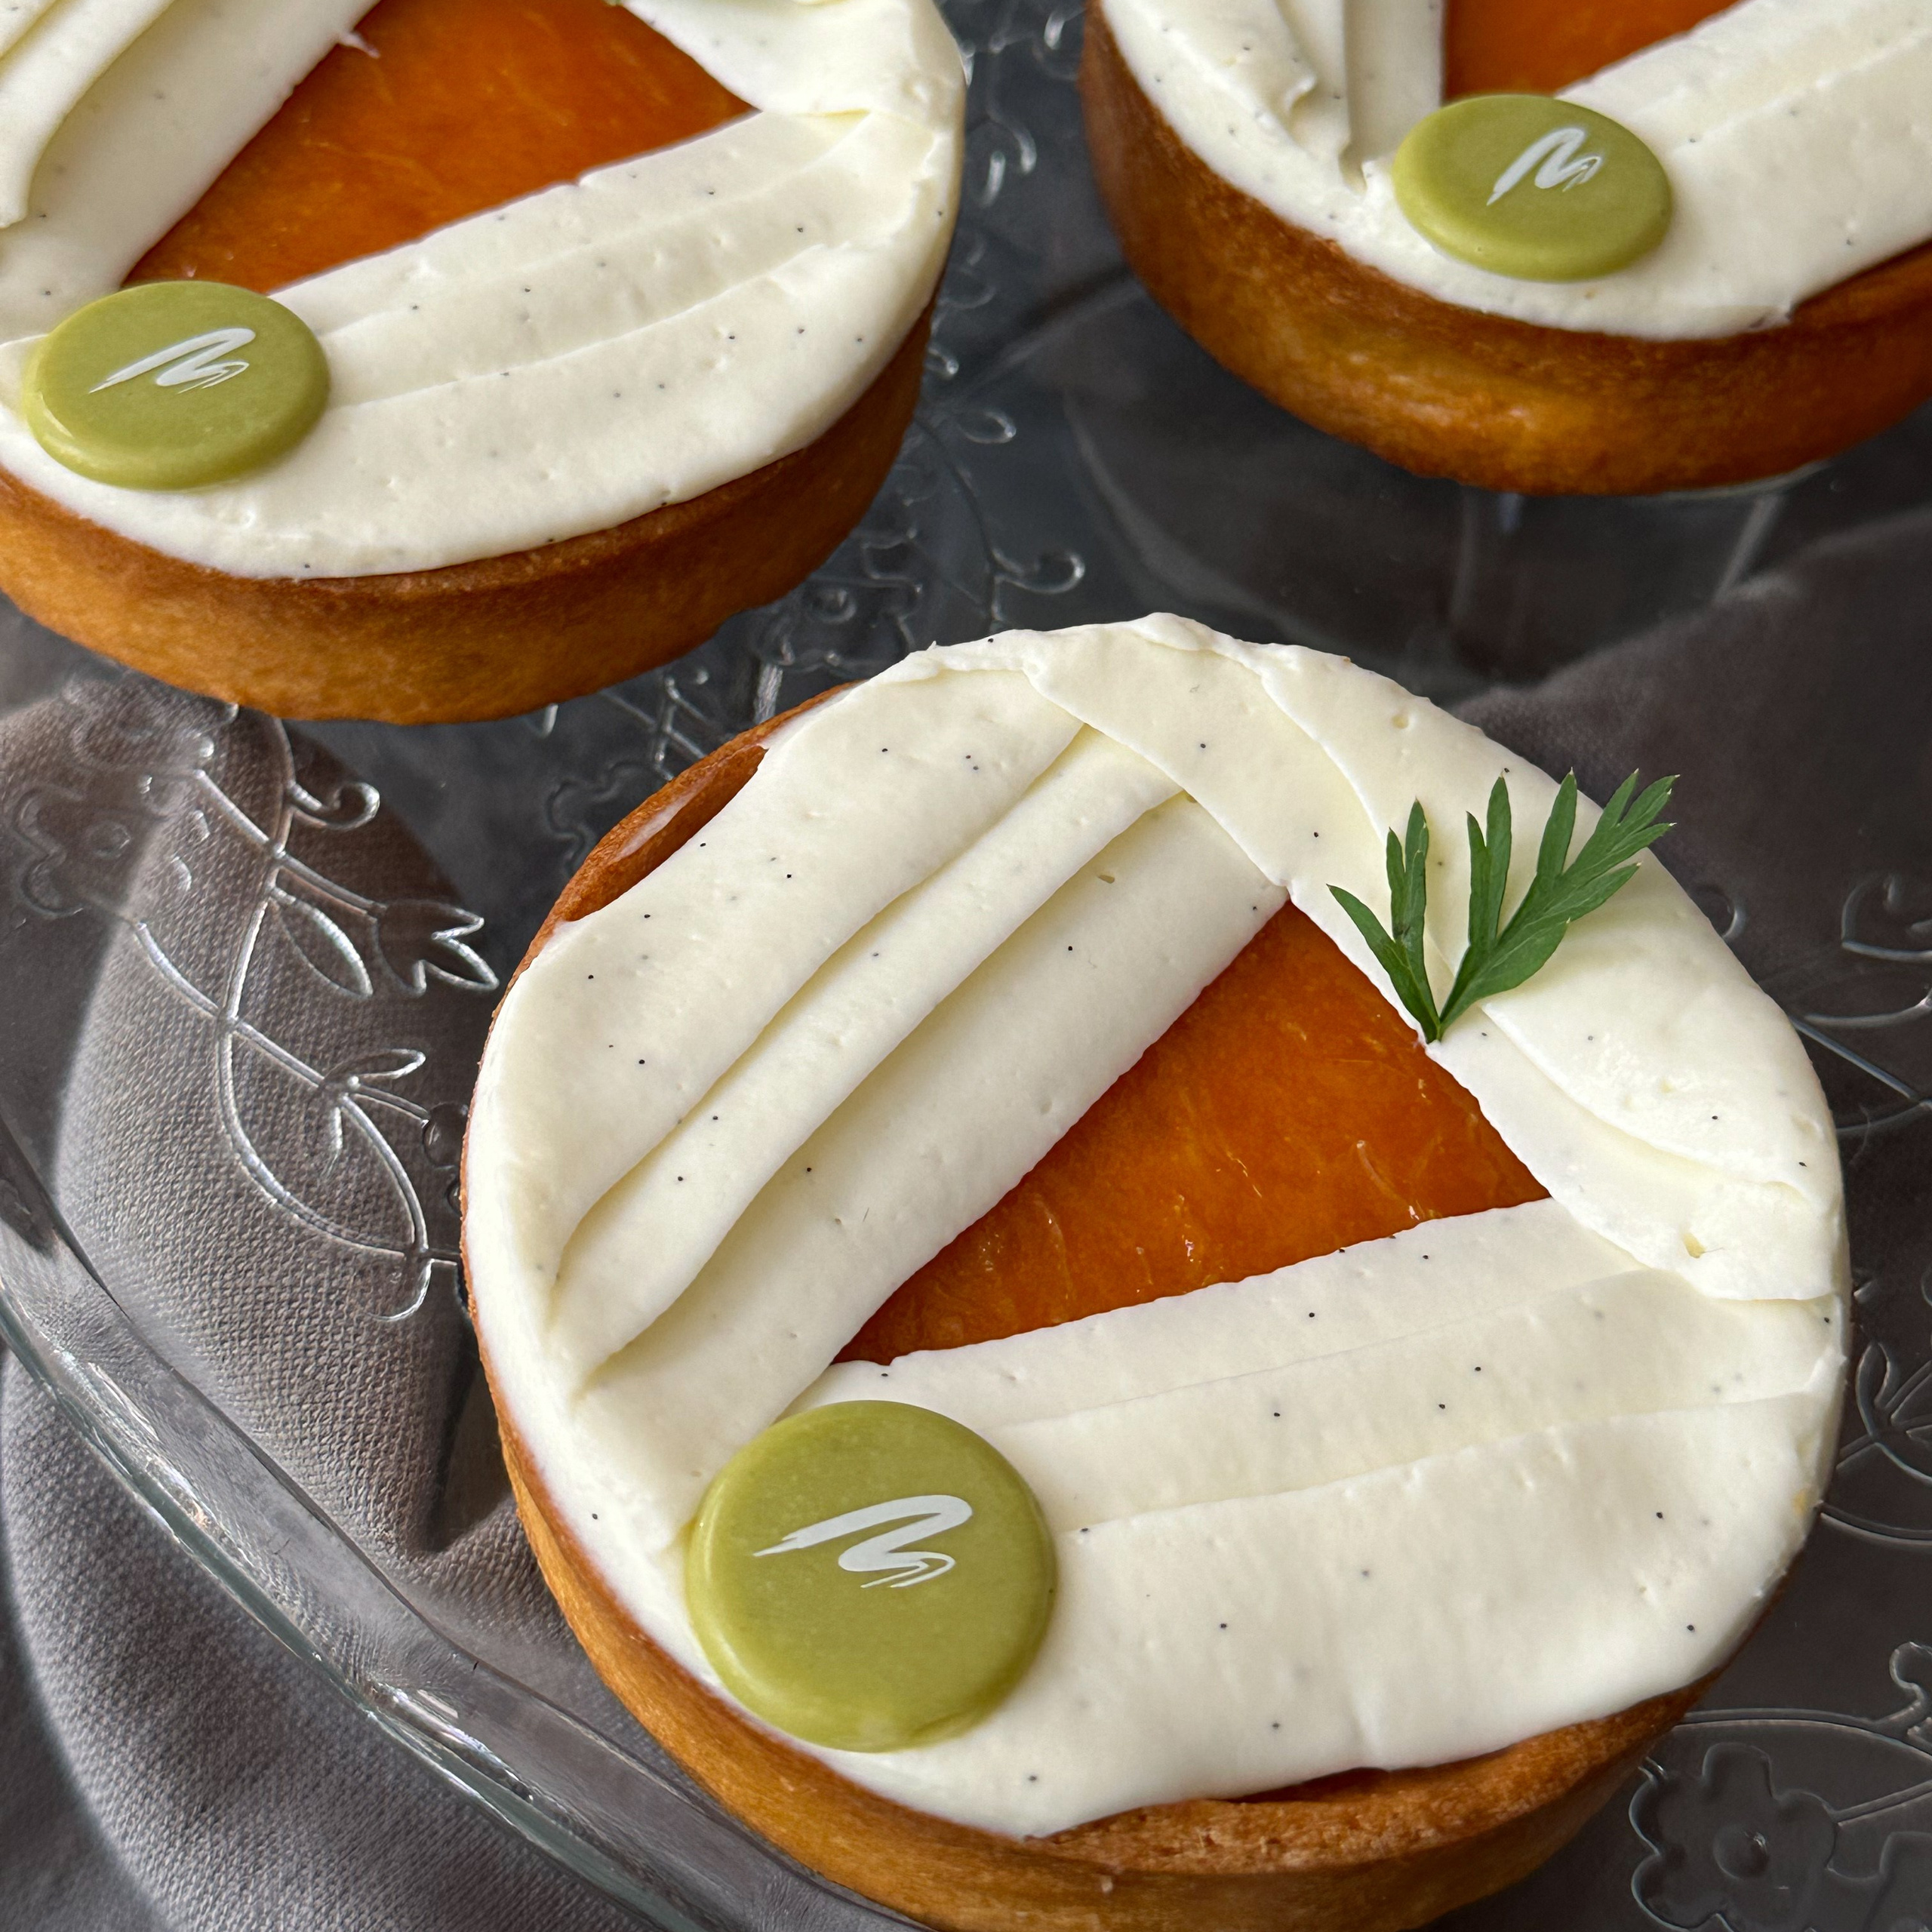
5. Grid: Now, let’s move on to the actual shooting. The most popular and foolproof solution is to place the object in the center of the frame. To easily do this, enable the grid on your phone, and you will always see where the object is positioned.
6. Tripod: Using a tripod to fix the phone is the best way to shoot, as it allows you to clearly see on the screen what will appear in the photo. Position the phone at an angle to the dessert, avoiding the top-down angle that makes the shot flat.

7. Avoid Zooming: To show volume, position the phone at an angle to the dessert and move it up and down, choosing the most attractive angle. Then, zoom in on the image to approximately 1.5-1.9x. This zoom reduces object distortion without switching from the main camera to the portrait camera, which has lower resolution.
8. Focus on the Details: After selecting the desired zoom, fix the frame by pressing and holding your finger on the screen where the dessert is located until a yellow frame and text appear at the top of the screen. Finally, take the shot.
These simple techniques will help you create beautiful and professional-looking photos of your dishes on your iPhone.
Happy shooting!
Blog
10 Tips for Capturing Stunning Product Photos on Your Own
10 Photo Elements That Sell Your Products on Amazon
8 Essential Points for an Effective Product Photography Brief
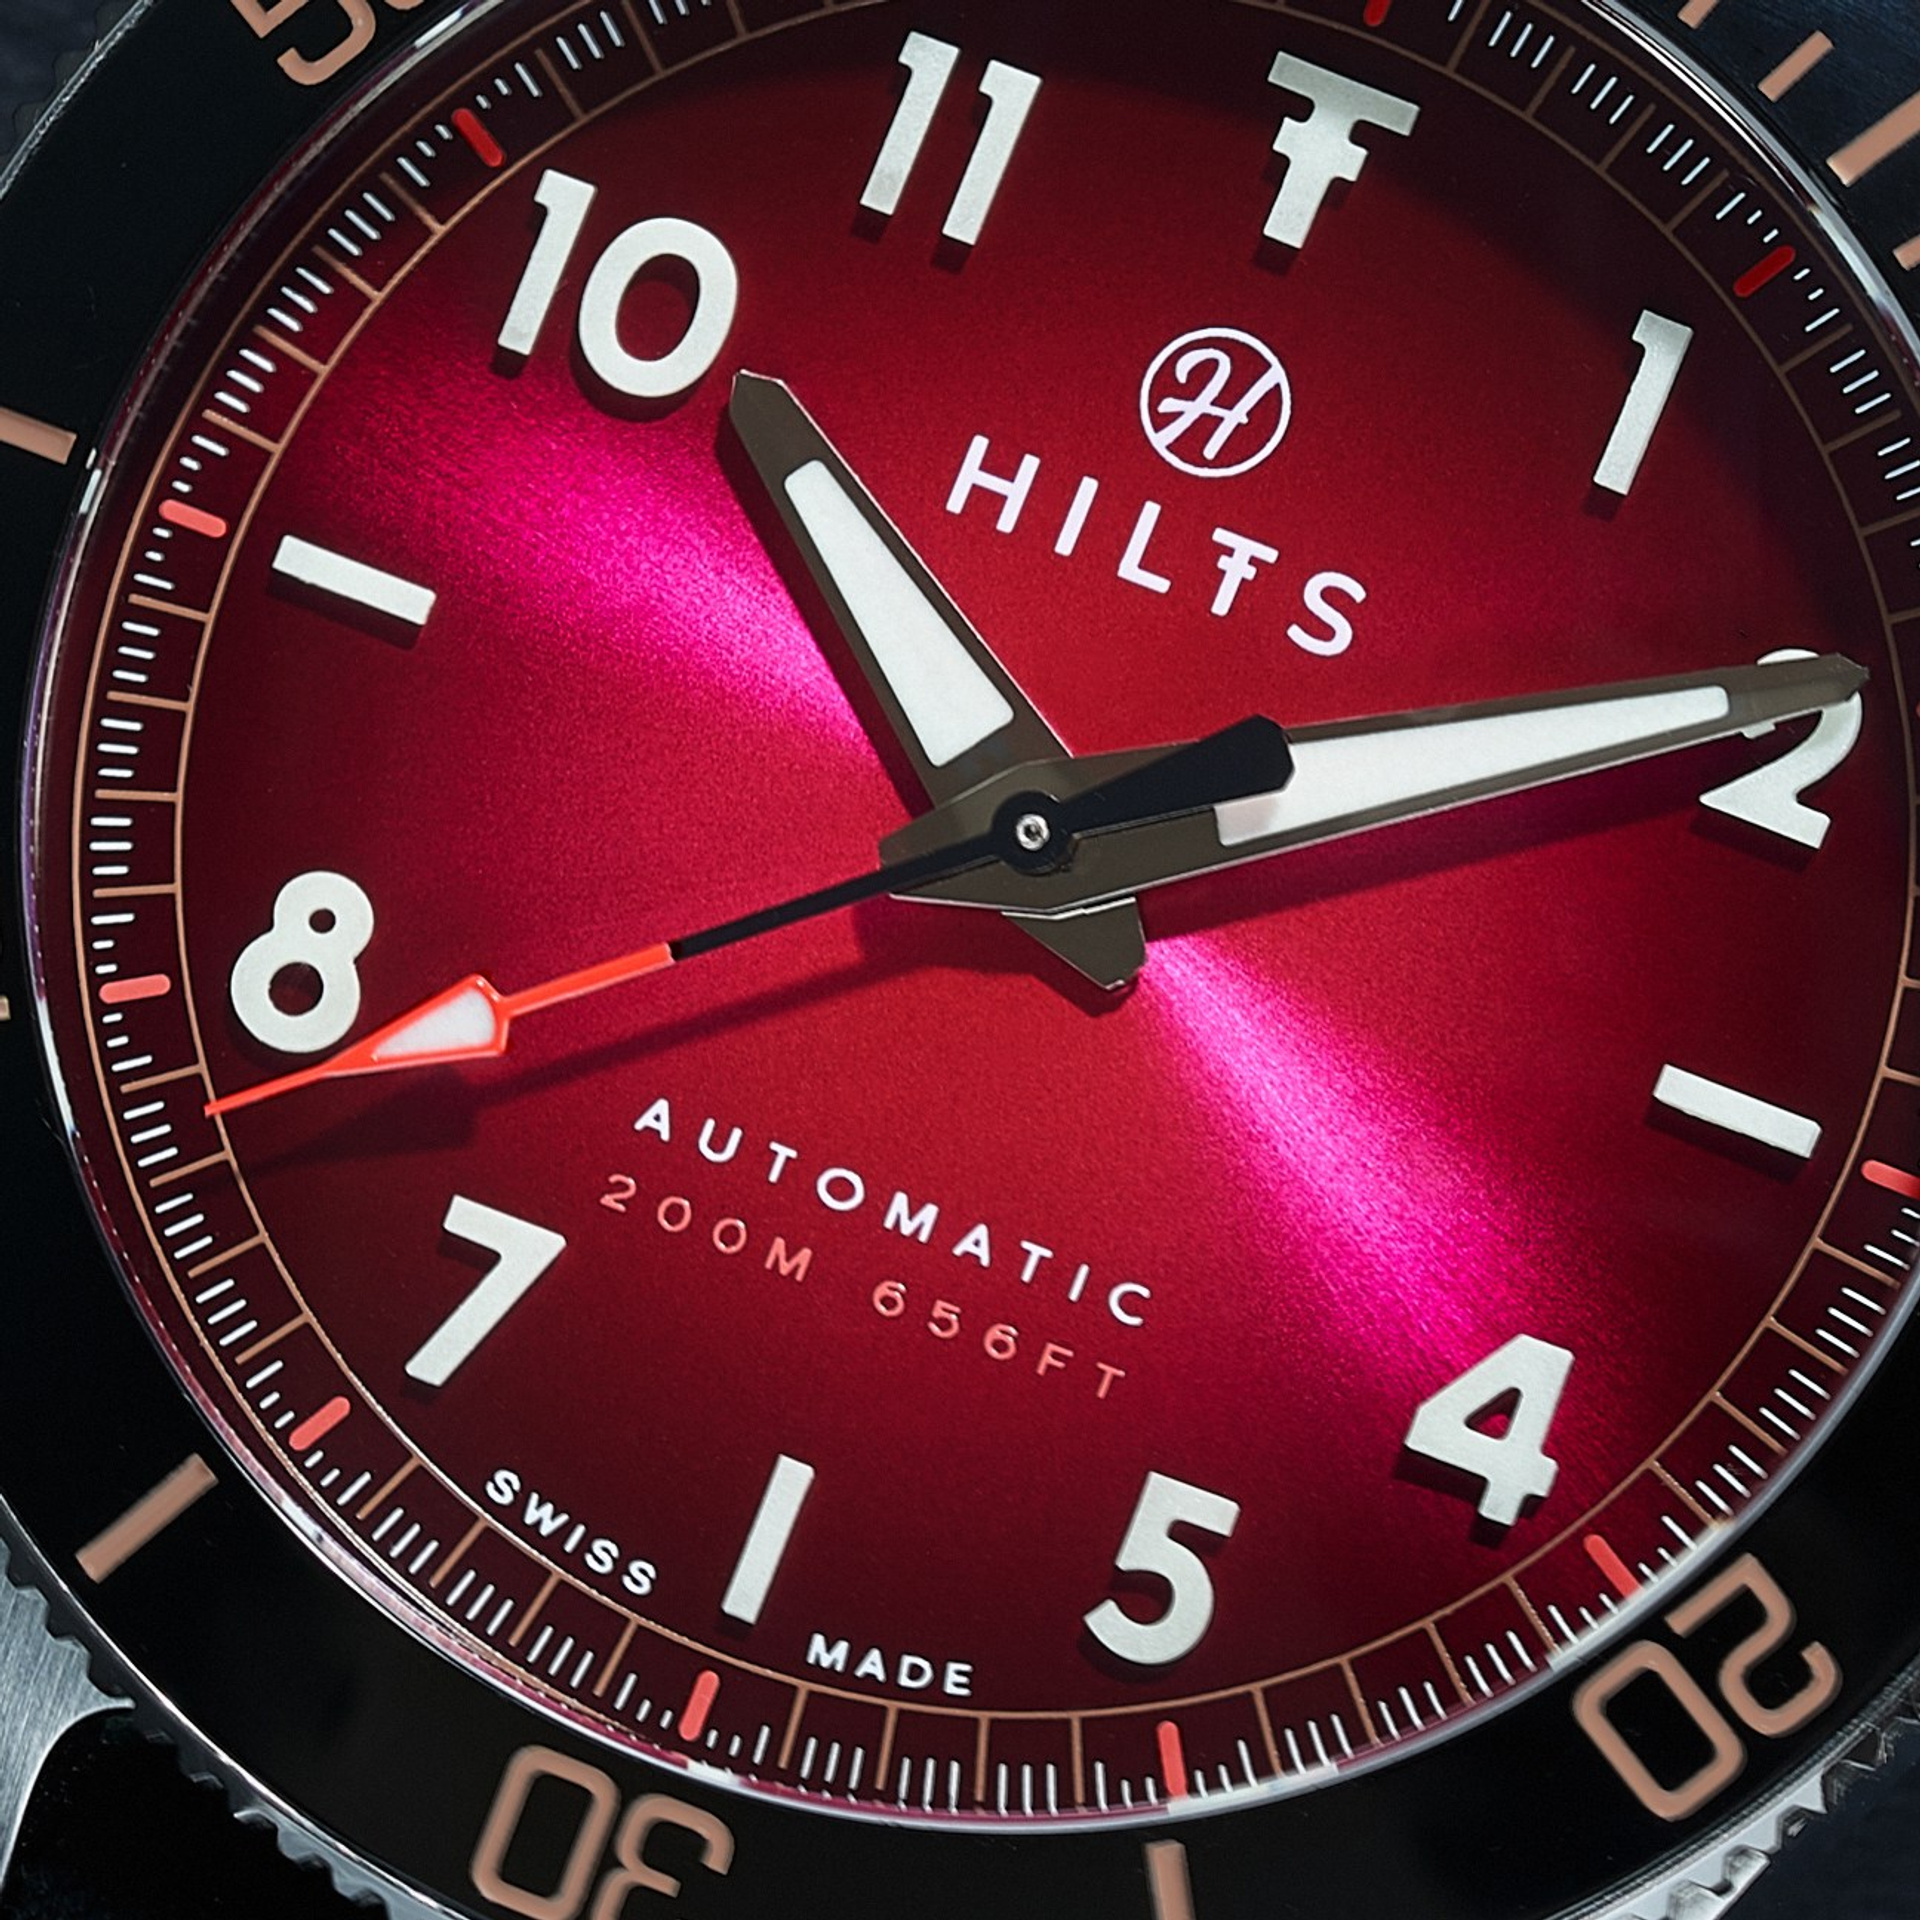
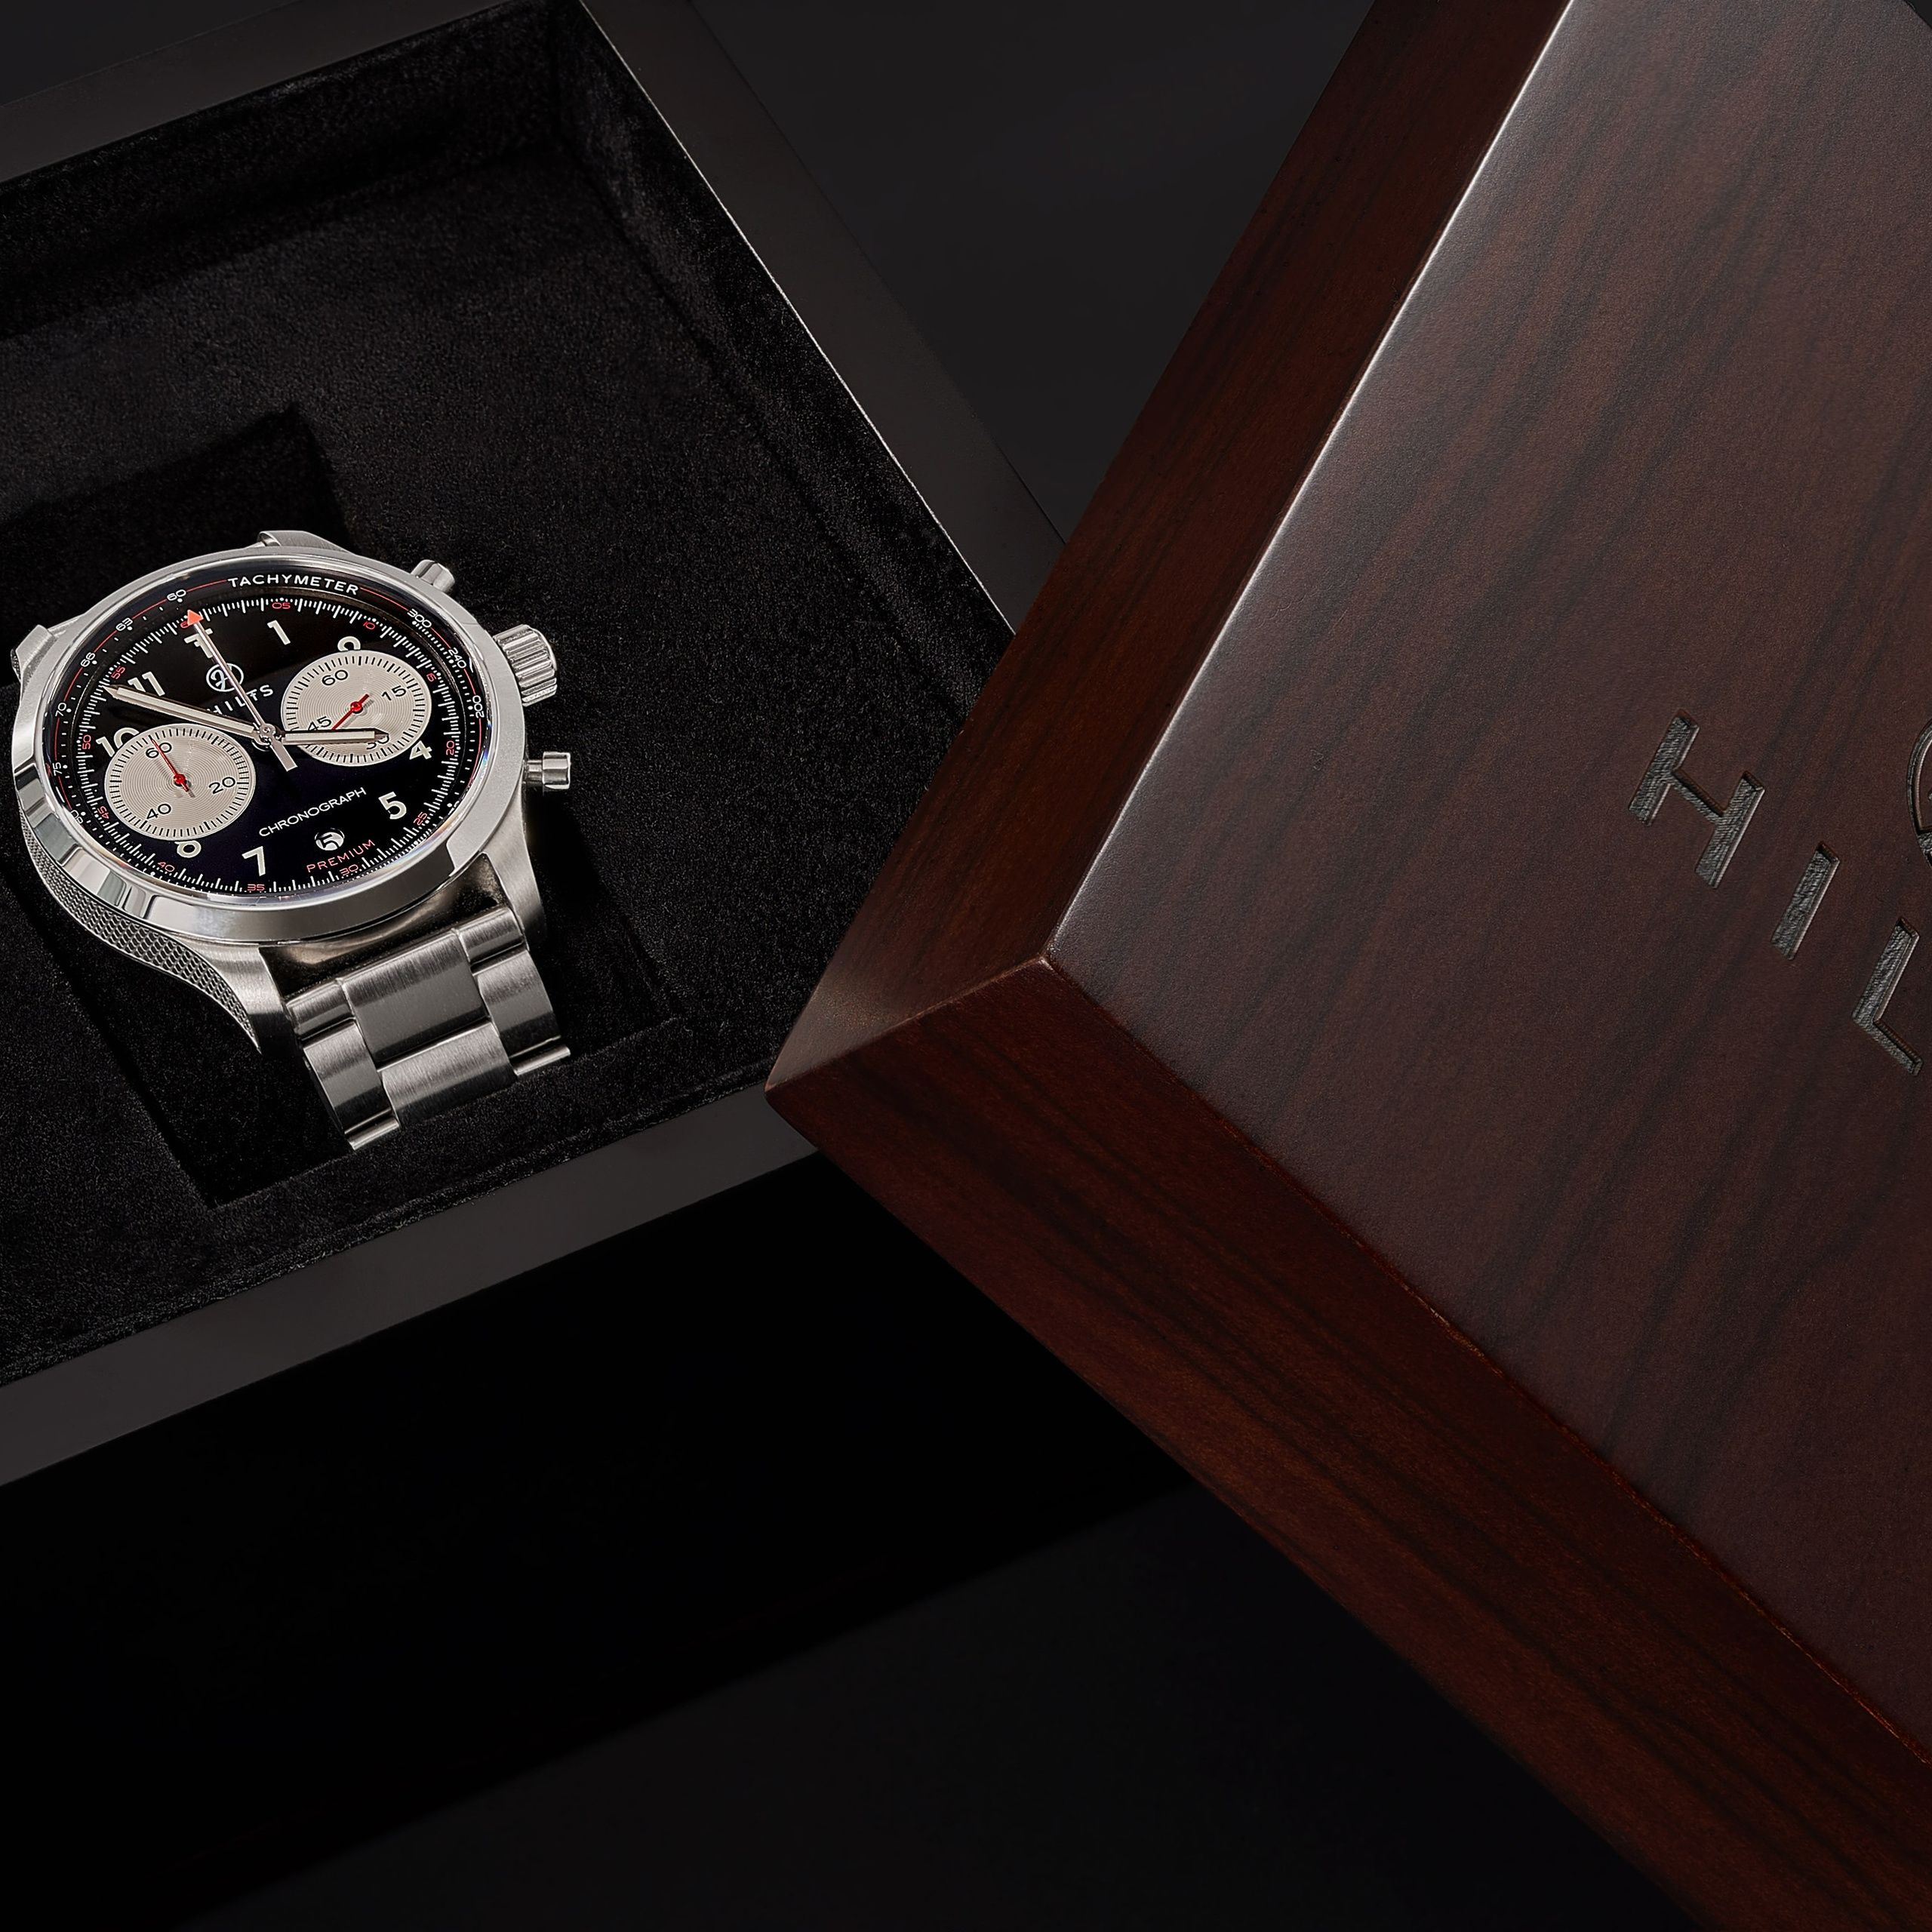
Why Do Watches Show 10:10 in Photos? Myths and the Real Reason

What Does a Product Photographer Do and Why Does Your Brand Need One?
Photography for online stores – sell more by showcasing better.
Product Photography in Barcelona
360 Product Photography: Revolutionize Your Product Presentation
Photography for eCommerce: Keys to Boost Your Online Sales

How to Take Stunning Product Photos at Home: Creative Photography Tips
Fashion and Apparel Photography for Catalogs and Lookbooks: Why Professional Images are Key for Your Brand

Jewelry and Product Photography for Catalogs in Barcelona: How to Attract Customers with High-Quality Images
Food Photography in Barcelona: Attract Your Clients with Mouthwatering Images
Product Photography for the Web in Barcelona: A Complete Guide to Improving Your Online Presence